What you’ll achieve
By the end of this guide your tax residence is set, and you know which fiscal year the dashboard is grouping your travel history by.
This is the one setting that changes every count in the app, so it is worth getting right before you add days.
Step 1: Open your fiscal configuration
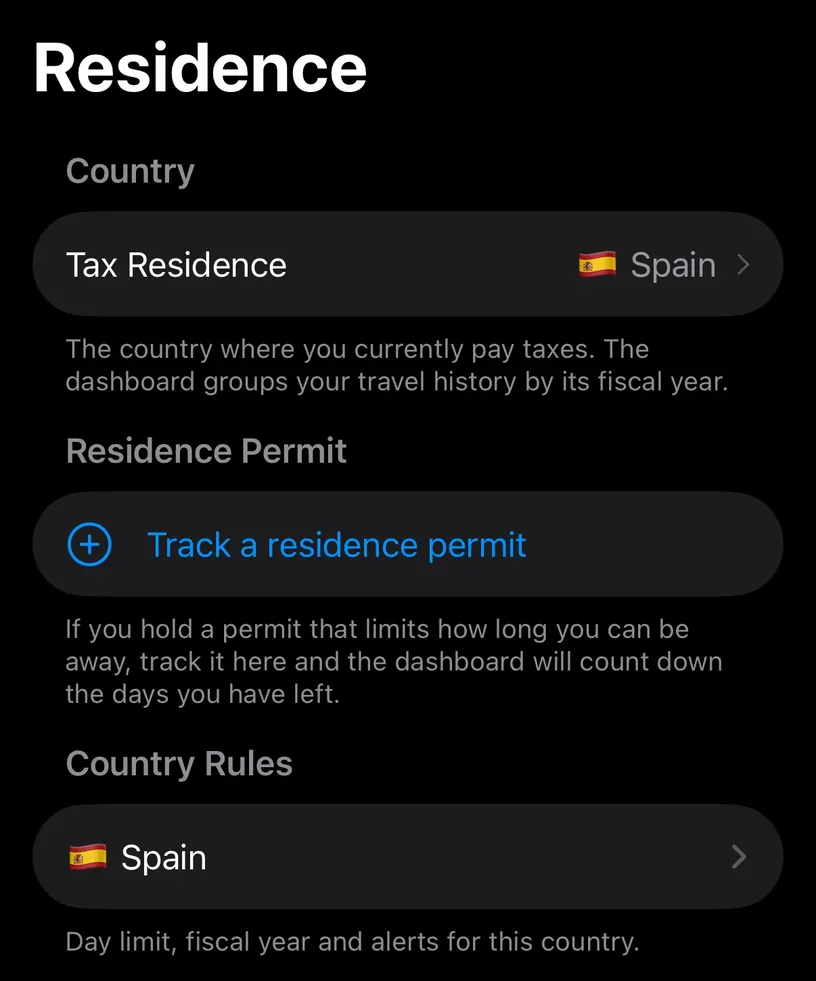
Open the Settings tab. The first group is Fiscal Configuration, and its first row is Residence, showing the country you have now.
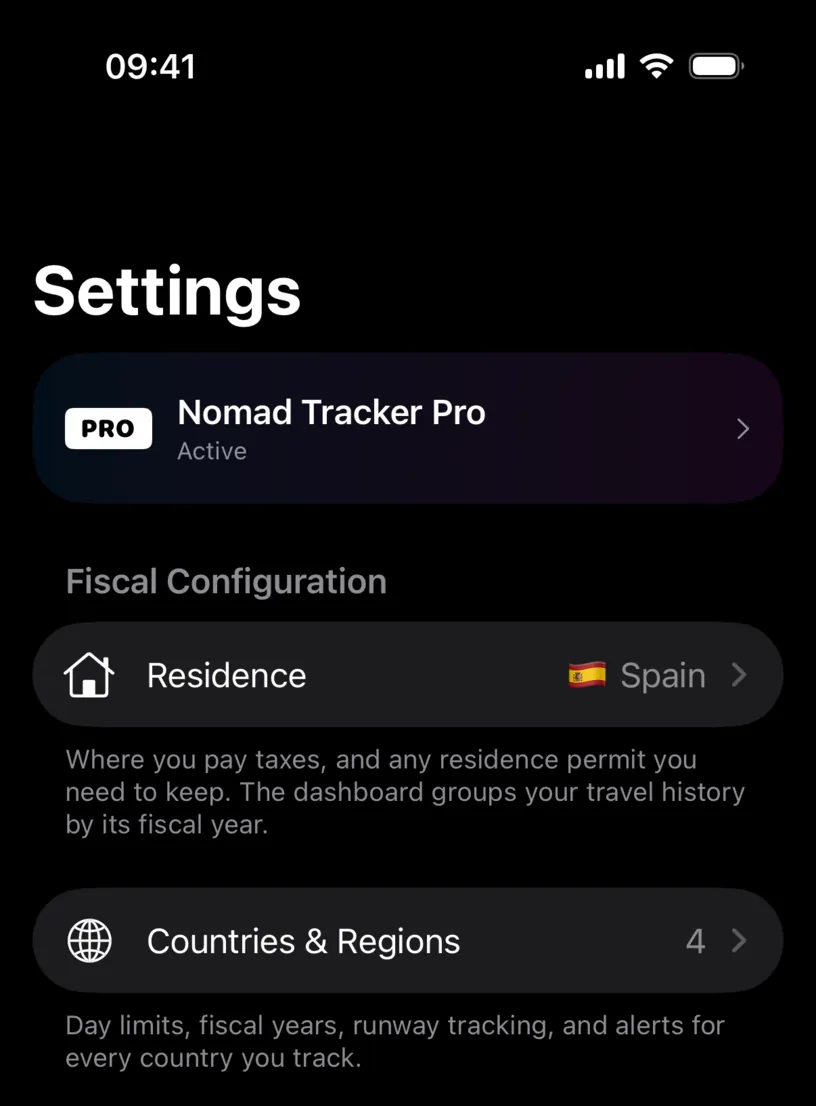
The row explains its own reach: where you pay taxes, and the fiscal year your travel history is grouped by.
Step 2: Open the Residence screen
Tap Residence. The screen has three parts.
Tax Residence holds the country itself. Residence Permit is for a permit that limits how long you can be away. Country Rules links to the day limit and fiscal year of the country you currently reside in.
Step 3: Choose the country
Tap Tax Residence. A sheet titled Select Countries opens, with a Search countries... field, your current choice under Selected Countries, and the full list under All Countries.
Type a country name in the search field and tap the country. The sheet closes on the tap, because picking one country is the whole job here. The Done button belongs to the multi-country version of the same sheet.
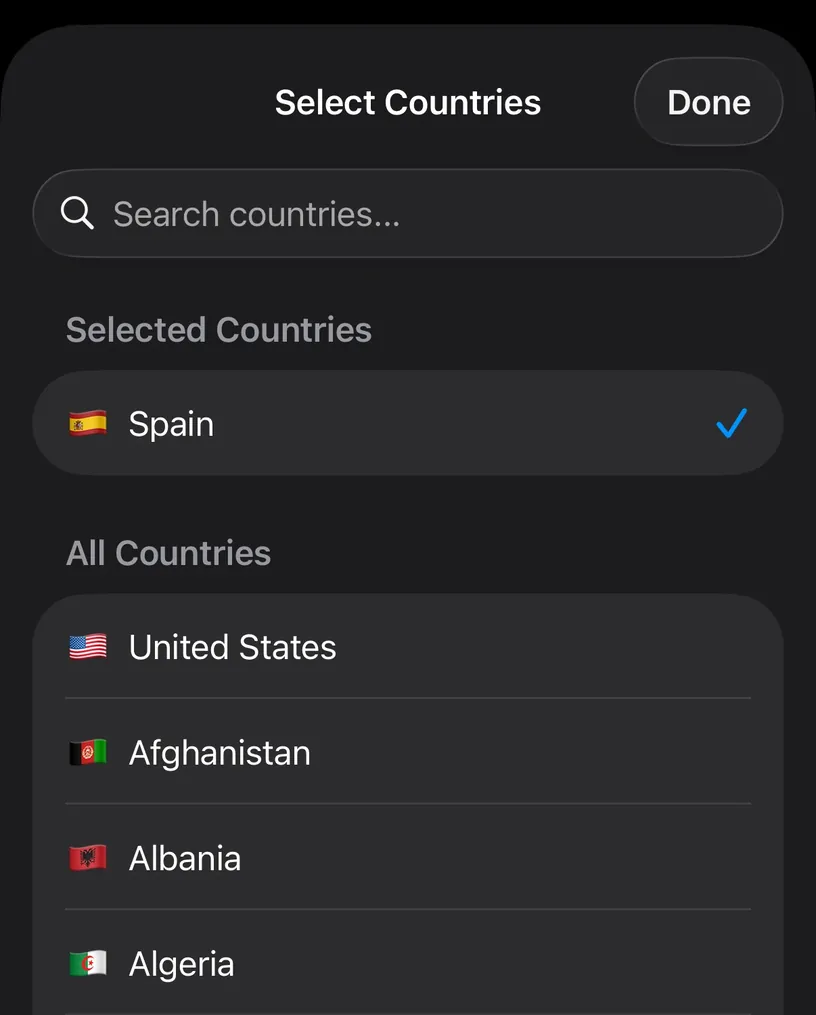
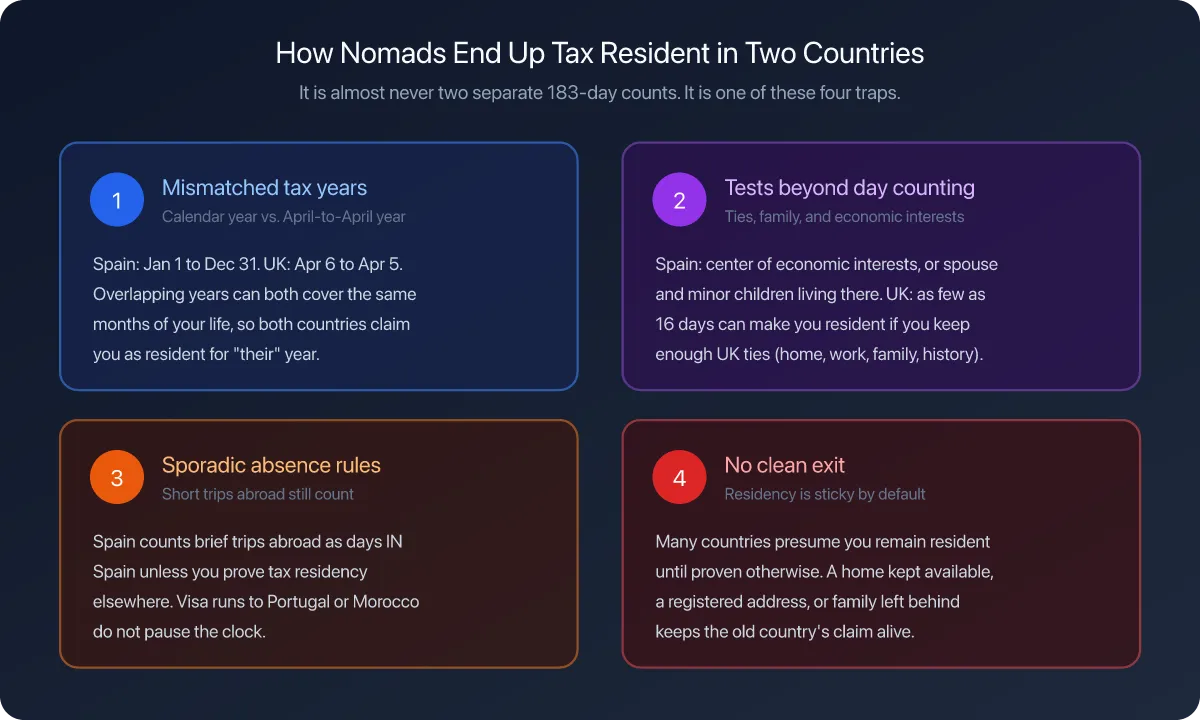
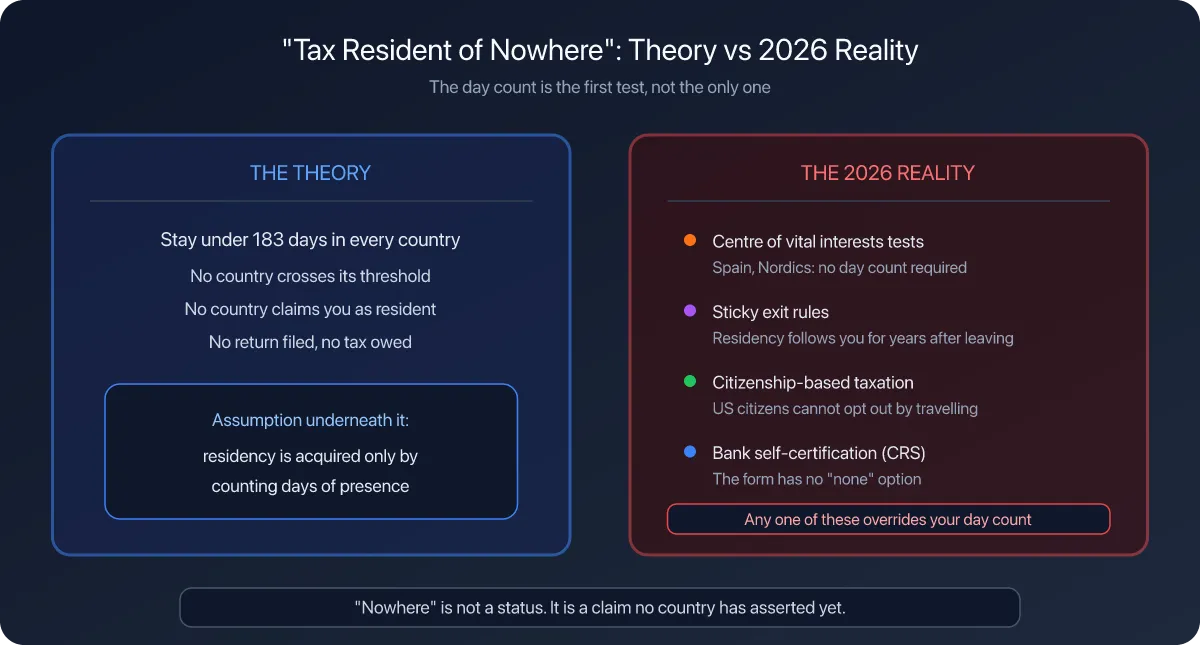
Set the country where you actually pay tax now, not where you hold citizenship and not where you are this month. The app counts days against this choice, so a wrong country produces a confident wrong answer.
Step 4: Check the limit and fiscal year it brings
Back on the Residence screen, tap the country under Country Rules.
Day Limit is the day count that makes you a tax resident there, and Fiscal Year Start is the date its year begins. Spain arrives as 183 days and January 1.
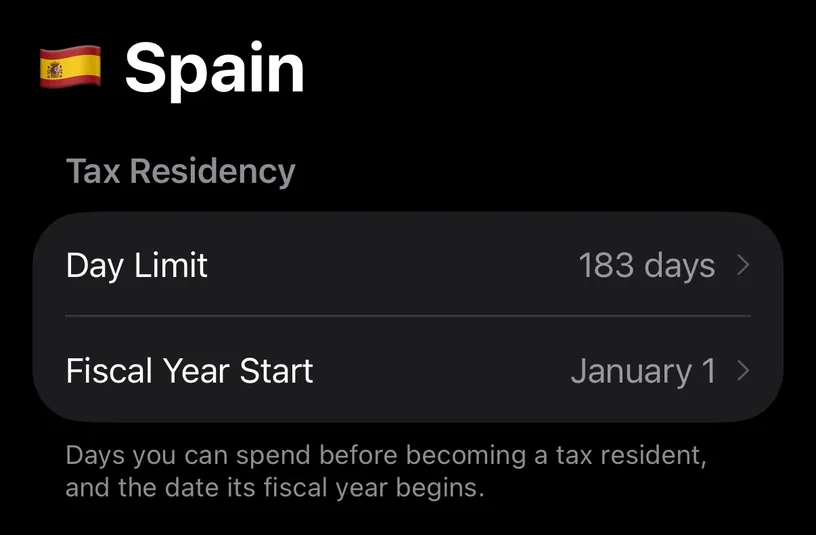
Both values are editable, and the app fills them from the country you picked. Check them rather than assume them, because a country whose fiscal year starts in April groups your travel completely differently from one that starts in January.
Step 5: Add a residence permit only if one applies
If you hold a permit that caps how long you can be outside the country, tap Track a residence permit on the Residence screen and the dashboard counts the days you spend away.
Skip this if no permit ties you to the country. It is a separate counter from tax residency, not a second copy of it.
Check your result
Open Settings and read the Residence row. It shows the country you just picked.
Then open the Dashboard tab. The year chip in the top left shows the fiscal year that country defines, and your residence country's card counts against the Day Limit you saw in step 4.
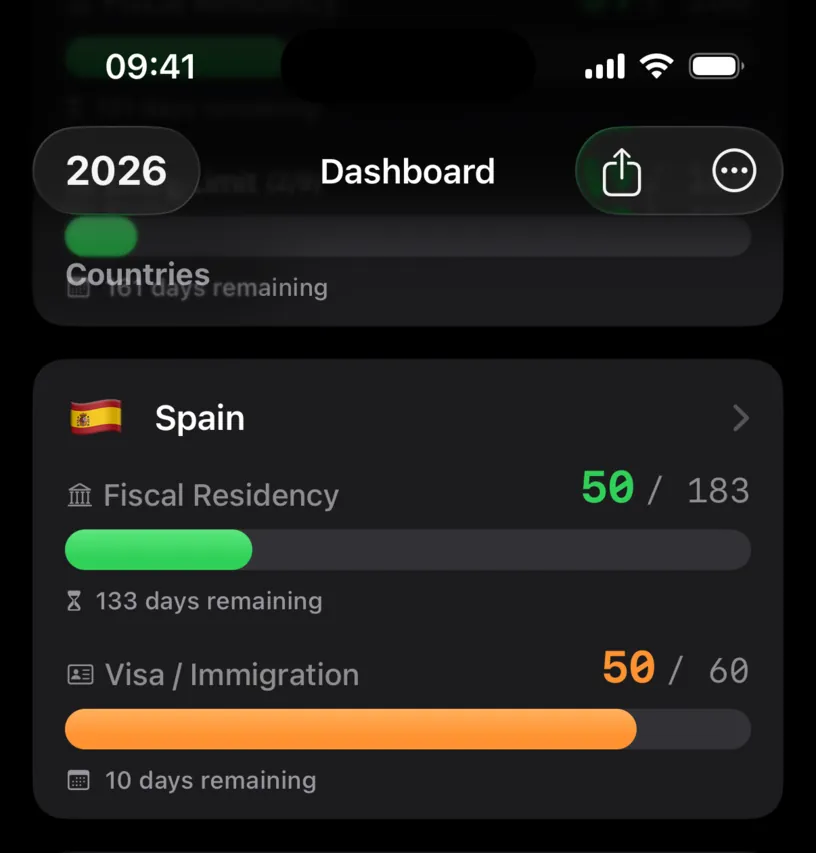
With Spain as the residence, the card counts against 183 and the year runs from January.
If something looks different
The Residence row reads Select Country. Nothing is set. Tap the row and pick a country.
The dashboard year chip shows a range you did not expect. The dashboard follows the fiscal year of your residence country. Check Fiscal Year Start in its country rule.
Your day counts changed after switching residence. They should. Both the fiscal year window and the day limit come from the new country, so the same travel history regroups against a different calendar.
The country you need is not in the list. Use the Search countries... field rather than scrolling. The list holds every country the app knows, in alphabetical order after United States.
You pay tax in two countries. Set the one whose year you want the dashboard organized by, and track the other under Countries & Regions with its own day limit and alerts.
Next steps
Set up Nomad Tracker for the first time covers the rest of the fiscal configuration, including your passport and the Schengen 90/180 switch.
For a country you visit rather than live in, open Settings, then Countries & Regions, and give it its own day limit and alerts.