What you’ll achieve
By the end of this guide Nomad Tracker knows your tax residence, the fiscal year it groups your travel by, and whether the Schengen 90/180 limit applies to your passport. You can confirm all of it on one screen in Settings.
Setup takes about a minute. Everything you choose here can be changed later.
Step 1: Open the app and start setup
Open Nomad Tracker for the first time. The welcome screen counts up to a day limit and reads Master your residency.
Tap Get Started.
Step 2: Tell the app how you found it
The first screen asks How did you find us? and lists five options, from Instagram or Facebook to Somewhere else.
Pick one. Continue stays dimmed until you do.
Choosing Somewhere else adds a free-text field so you can type where you heard about the app. The field is optional, and Continue works without it.
Step 3: Decide how to fill your travel history
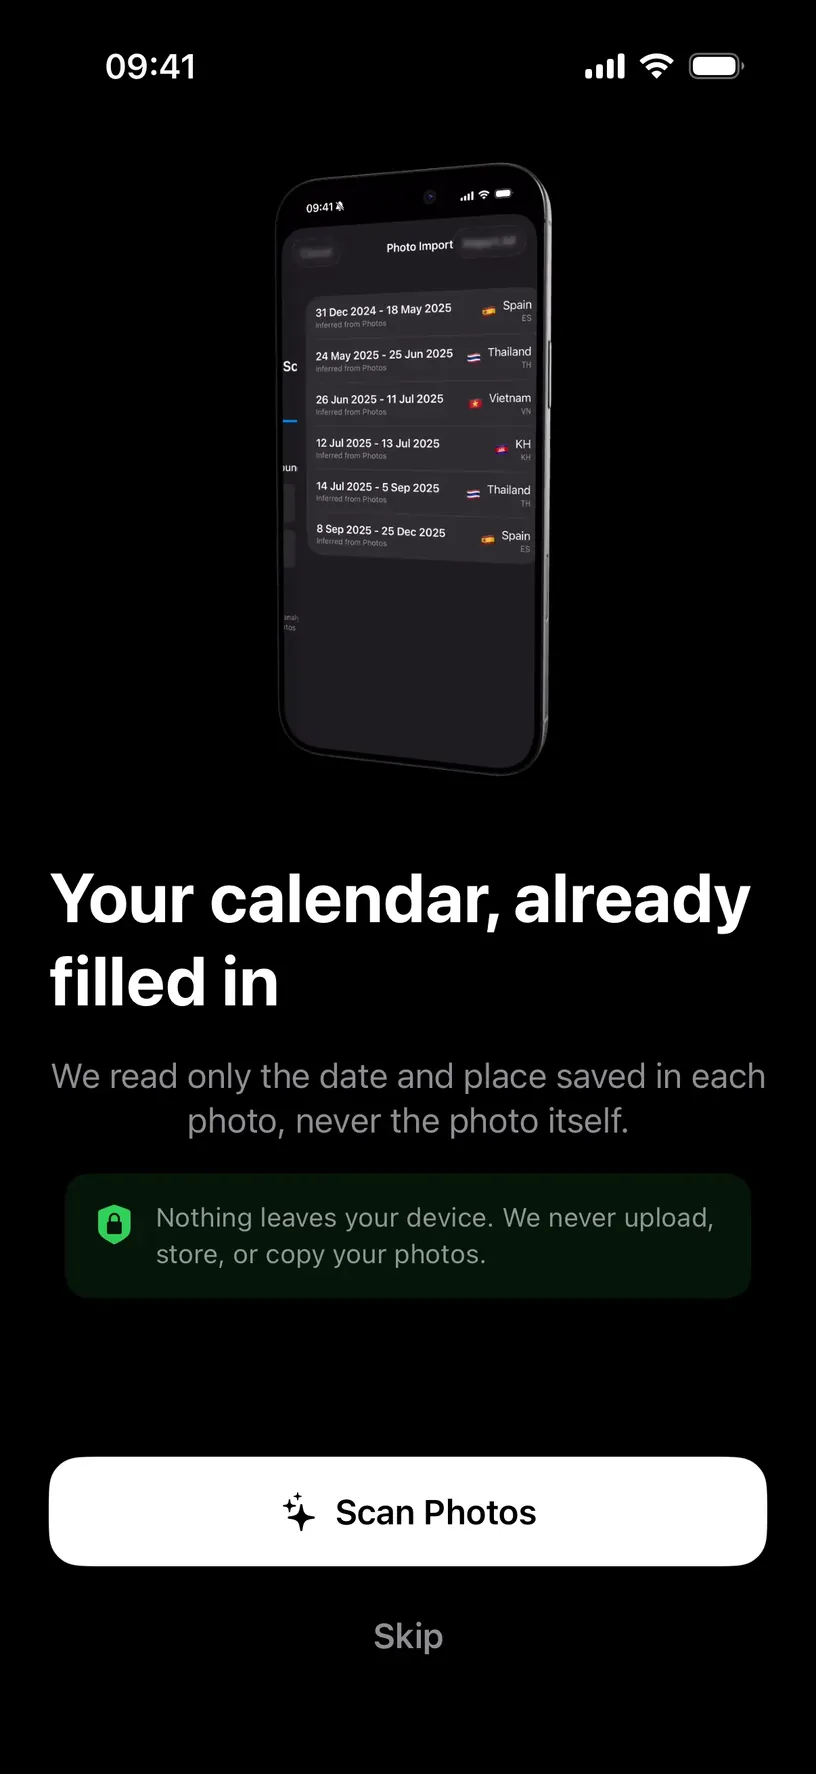
Next comes Your calendar, already filled in, which offers to read the date and place stored in your photos so your past trips are logged for you.
Tap Scan Photos to grant photo access and let the app backfill your history, or tap Skip to start with an empty calendar and add trips yourself.
This guide takes Skip. Skipping now costs you nothing, because the same Scan Photos action sits behind the Add button in the Calendar tab.
Step 4: Set your passport and your tax residence
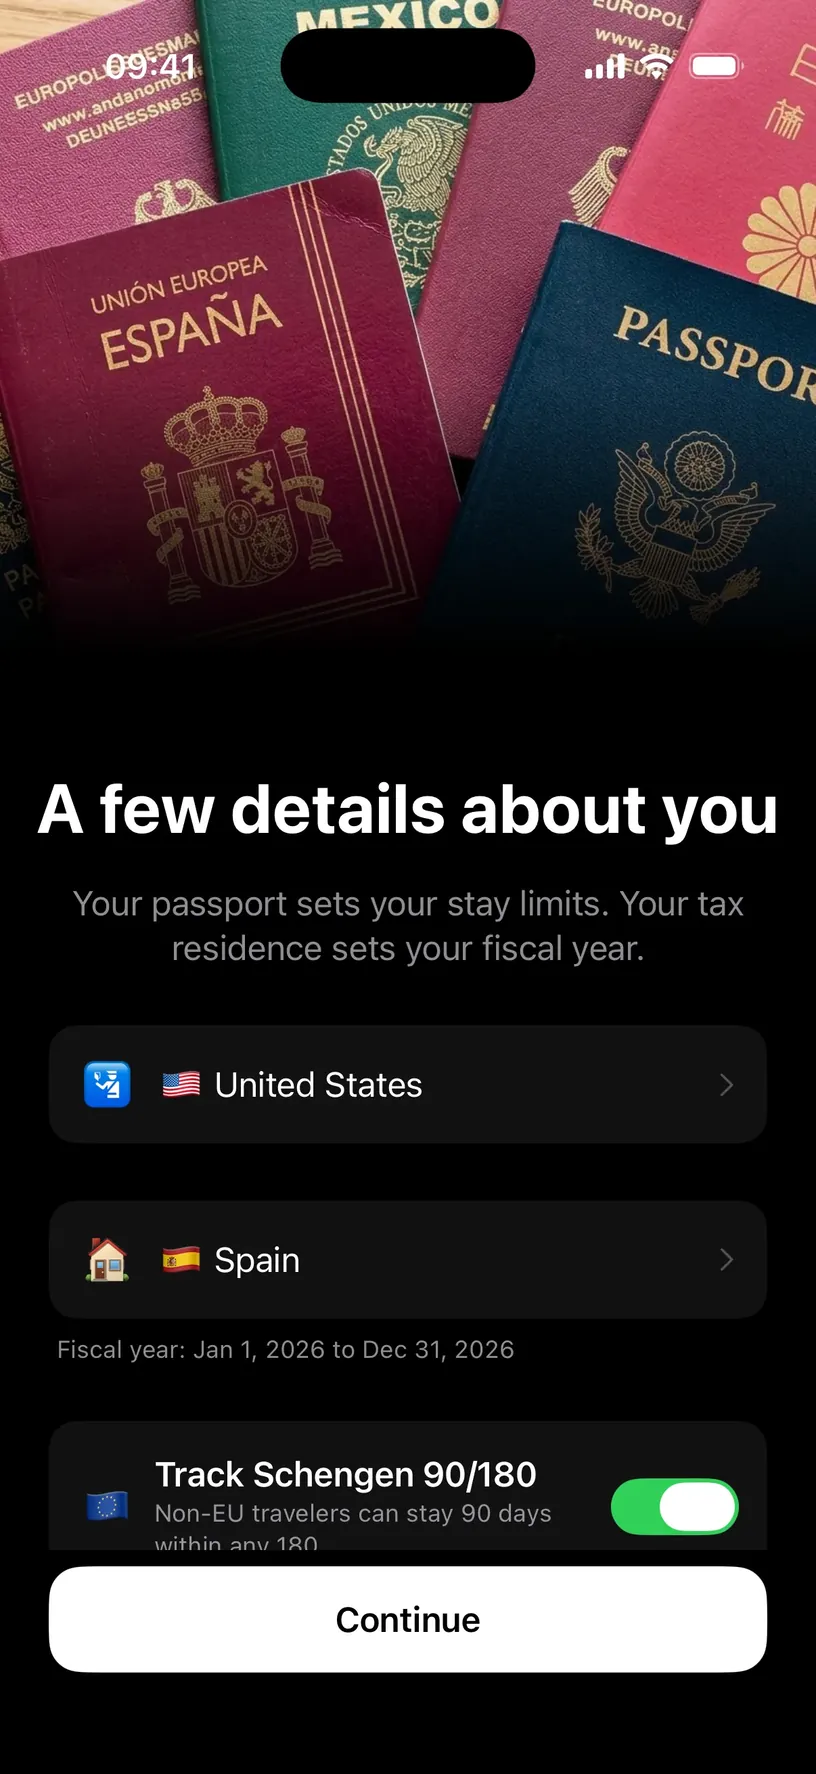
This is the screen that matters. It is titled A few details about you, and it explains the split: your passport sets your stay limits, your tax residence sets your fiscal year.
Tap the top row, Select your passport. A sheet titled Select Countries opens with a Search countries... field.
Type a country name, tap the result, then tap Done. Your choice moves to a Selected Countries group at the top of the list. You can pick more than one passport here, which is what the Done button is for.
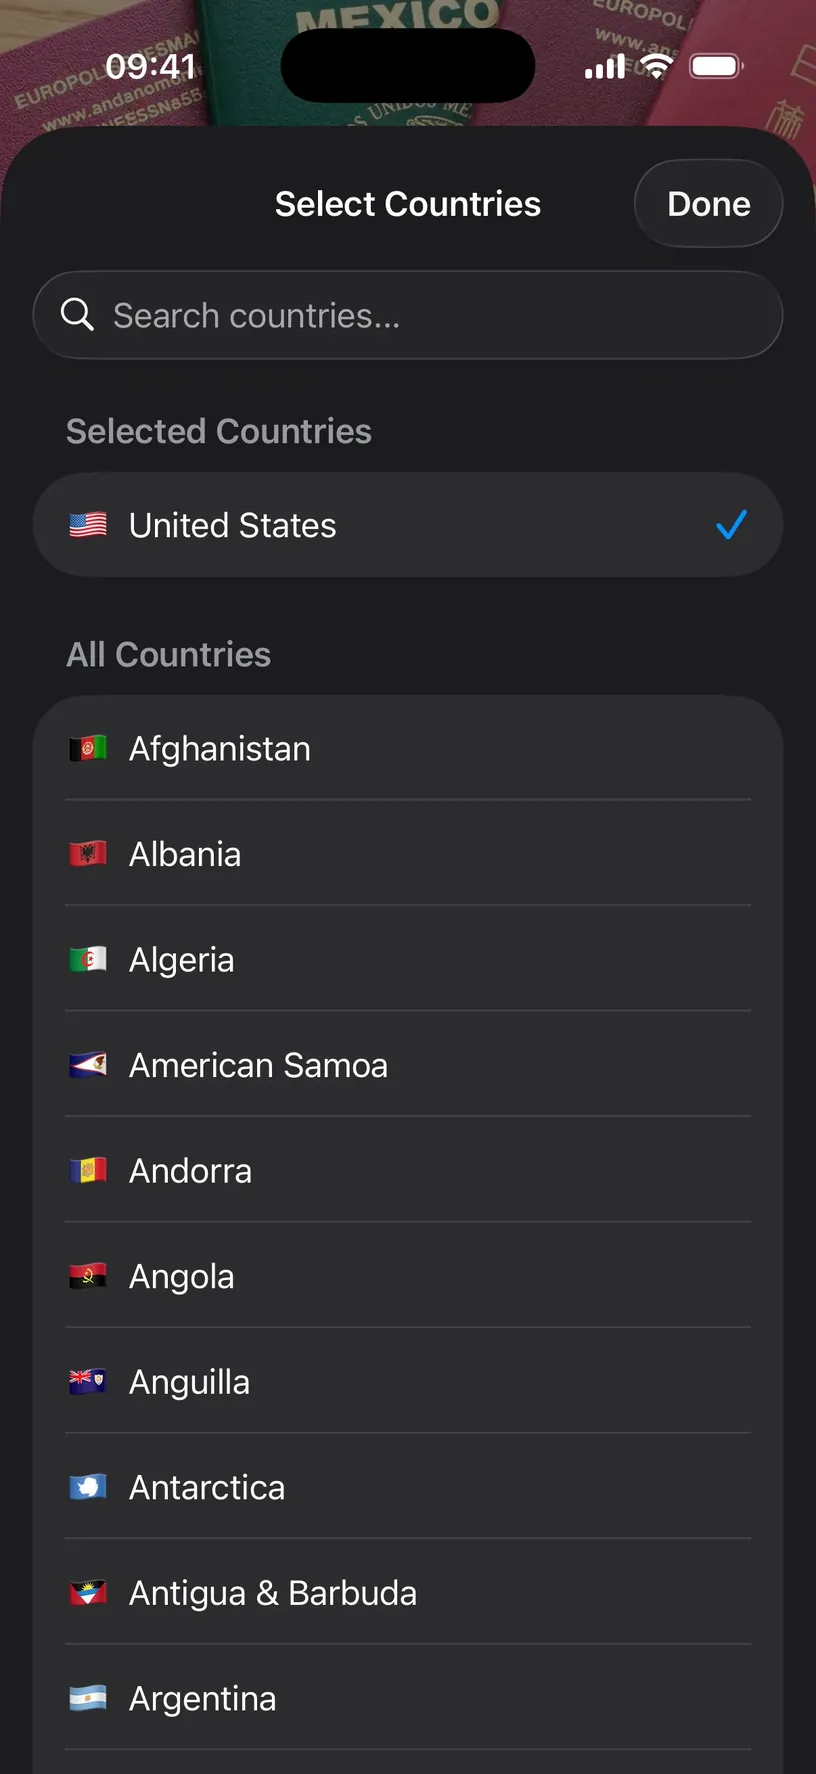
Now tap the second row, the one marked with a house icon. It arrives with a country already filled in, so check it before moving on.
This sheet is single choice. Tapping a country sets it and closes the sheet immediately, with no Done to press.
Under the two rows the app prints the fiscal year it will use. With Spain as the residence it reads Fiscal year: Jan 1, 2026 to Dec 31, 2026.
Below that sits the Track Schengen 90/180 switch, described as Non-EU travelers can stay 90 days within any 180. The app sets this switch from your passport. Choose a US passport and it turns itself on, because a US passport carries no EU free movement.
Check that the switch matches your situation, then tap Continue.
Step 5: Turn on limit alerts
The Stay Safe screen offers notifications for when you approach a fiscal residency limit or a Schengen deadline.
Tap Enable Alerts, then tap Allow on the iOS dialog. Tap Not Now instead if you would rather add alerts later.
Step 6: Turn on automatic day tracking
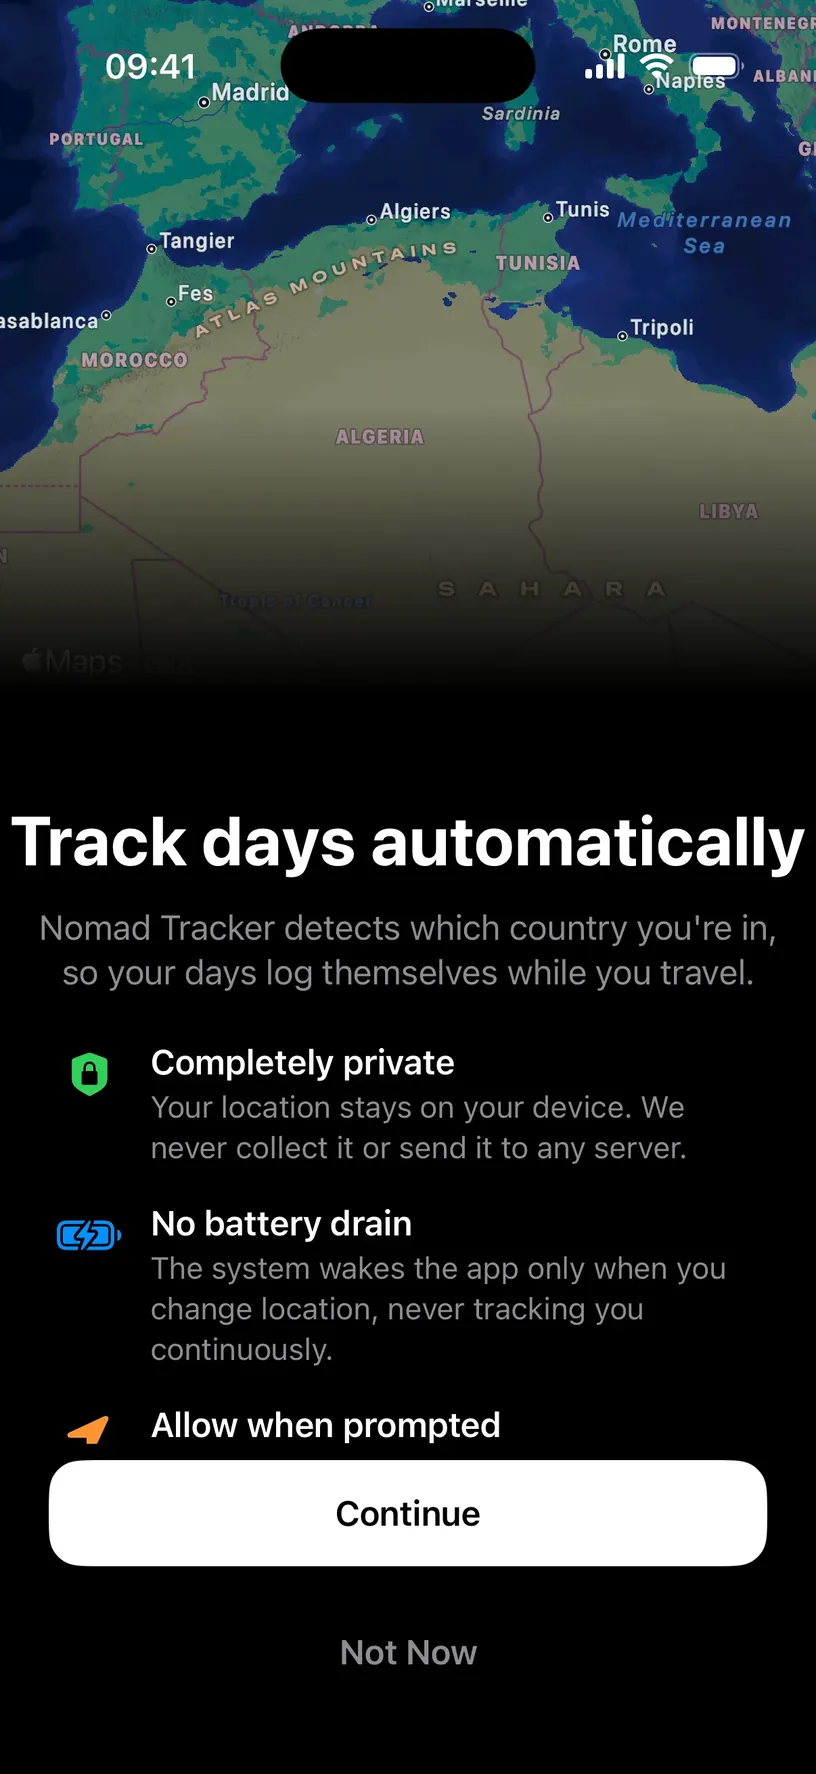
Track days automatically explains what tracking does before it asks for anything: your location stays on the device, and the system wakes the app only when you change location.
Tap Continue, then choose Allow While Using App on the iOS dialog. The other options are Allow Once and Don't Allow.
Nomad Tracker asks for the wider "always" permission later, once tracking is running, rather than demanding it up front.
Step 7: Close the PRO offer if it appears
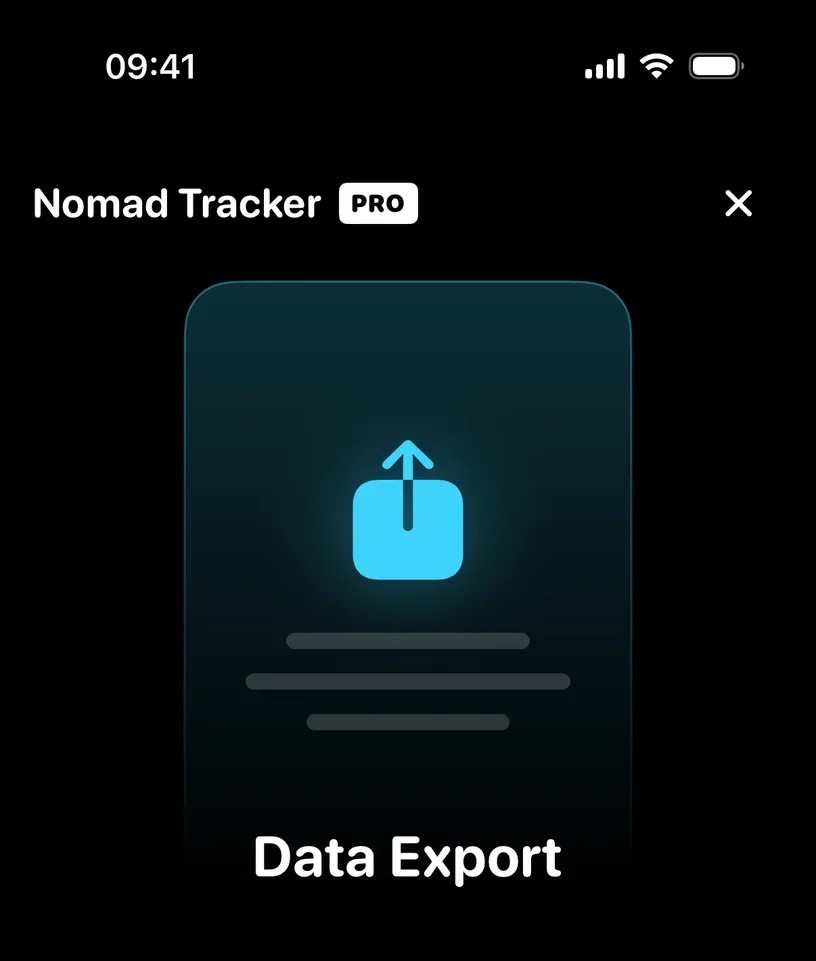
Setup can end on a Nomad Tracker PRO screen listing the subscription plans. Whether it appears at the end of setup varies between installs.
Tap the ✕ in the top right corner to close it and go to the dashboard. Nothing you configured in the previous steps is lost, and the app works without a subscription.
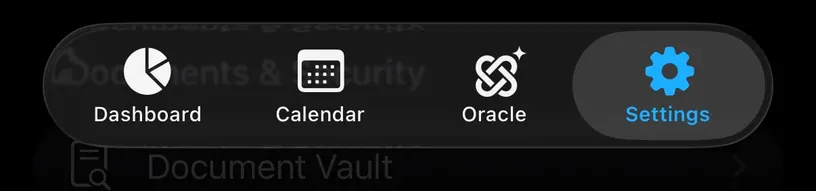
Step 8: Learn the four tabs
Setup ends on the dashboard. Four tabs sit at the bottom of the app.
Dashboard is the status view: your day counters per country, and the year chip in the top left that switches the fiscal year you are looking at.
Calendar is where days are entered, corrected and imported, whether by hand, from photos or from GPS.
Oracle is the AI assistant that answers questions about your own travel data.
Settings holds your fiscal configuration, tracking, documents and subscription.
Check your result
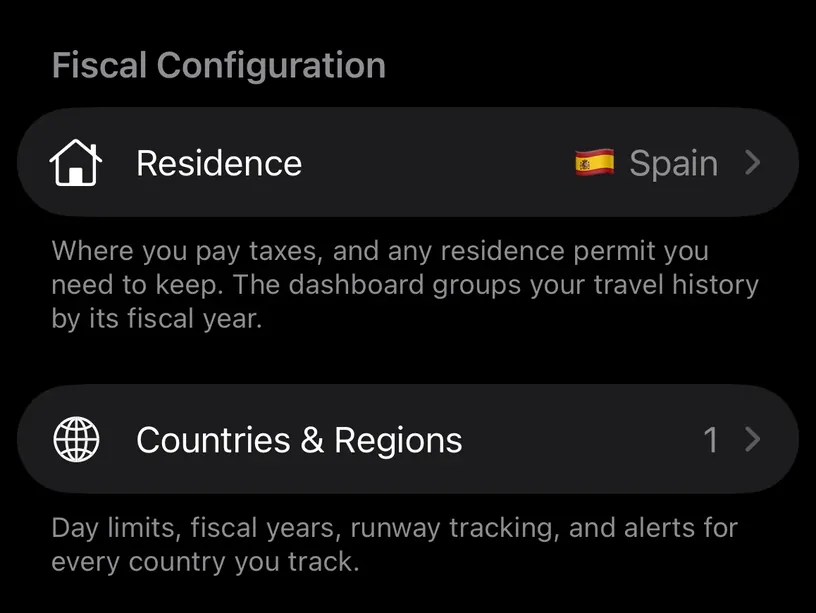
Open the Settings tab and look at the Fiscal Configuration group.
Residence shows the country you chose in step 4. Under it, the app repeats what that setting drives: where you pay taxes, and the fiscal year your travel history is grouped by.
Countries & Regions shows a count of at least 1 if you left Track Schengen 90/180 on, because the Schengen area is tracked as one entry in that list.
If both rows match what you picked, setup is done.
If something looks different
The dashboard says No Travel Data. That is the correct state for a new account that skipped the photo scan, not a failed setup. The counters appear once the calendar has days in it.
Auto Track Location says Action Required in Settings. Granting Allow While Using App is not the whole permission the app wants. The Calendar tab says the same thing as Background tracking paused, with a Turn on "Always Allow" button next to it. Use either one to finish granting location access, or leave it and log days by hand.
A Monthly Fiscal Report sheet covers the dashboard. The app shows a report for the previous month on the first open of a new month. Tap Close to dismiss it.
The Residence row reads Select Country. The tax residence did not save. Tap the row and choose your country again.
Next steps
Give the dashboard something to count. Log your first trip types one stay in by hand, rebuild travel history from photos fills years of them from your camera roll, and turn on automatic location tracking keeps it filled from today on.
Then read your dashboard at a glance to make sense of the numbers those days produce.
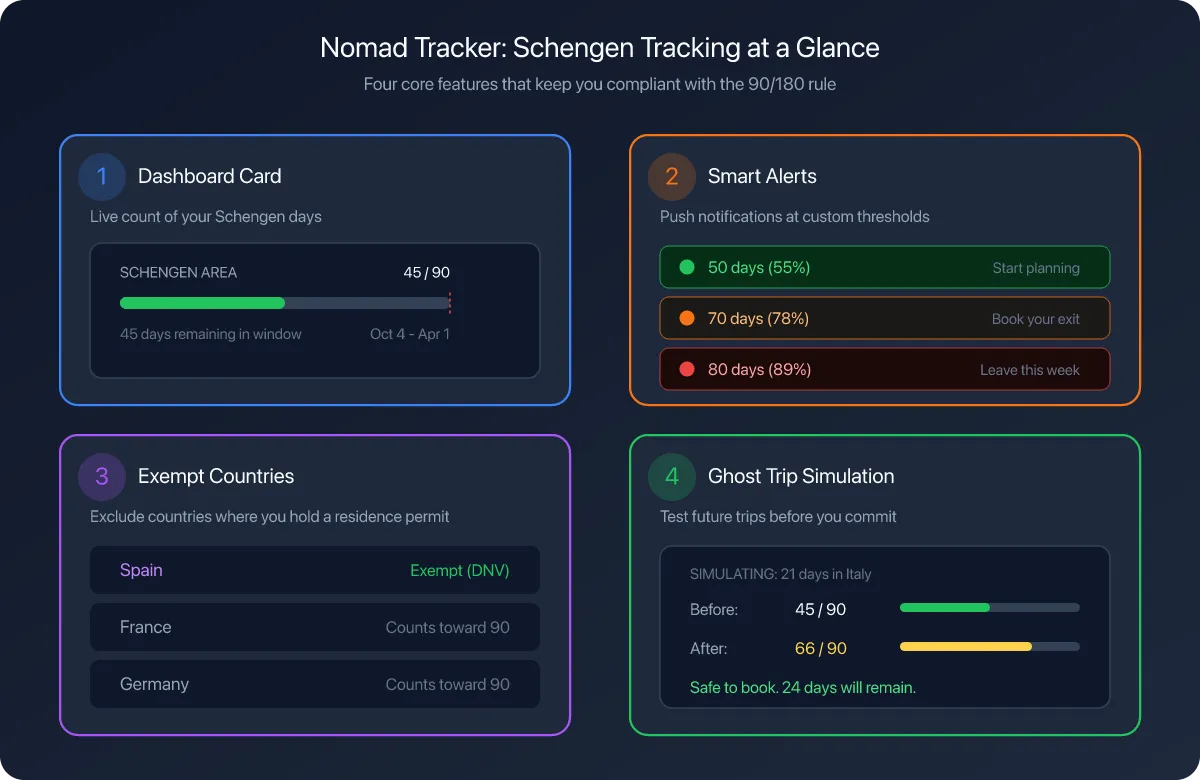
If you turned on Track Schengen 90/180, the blog walkthrough on setting up Schengen tracking covers exempt countries and alert thresholds in more depth than setup does.