What you’ll achieve
By the end of this guide the trips you already took are in your calendar, read from the date and the place your phone saved inside each photo.
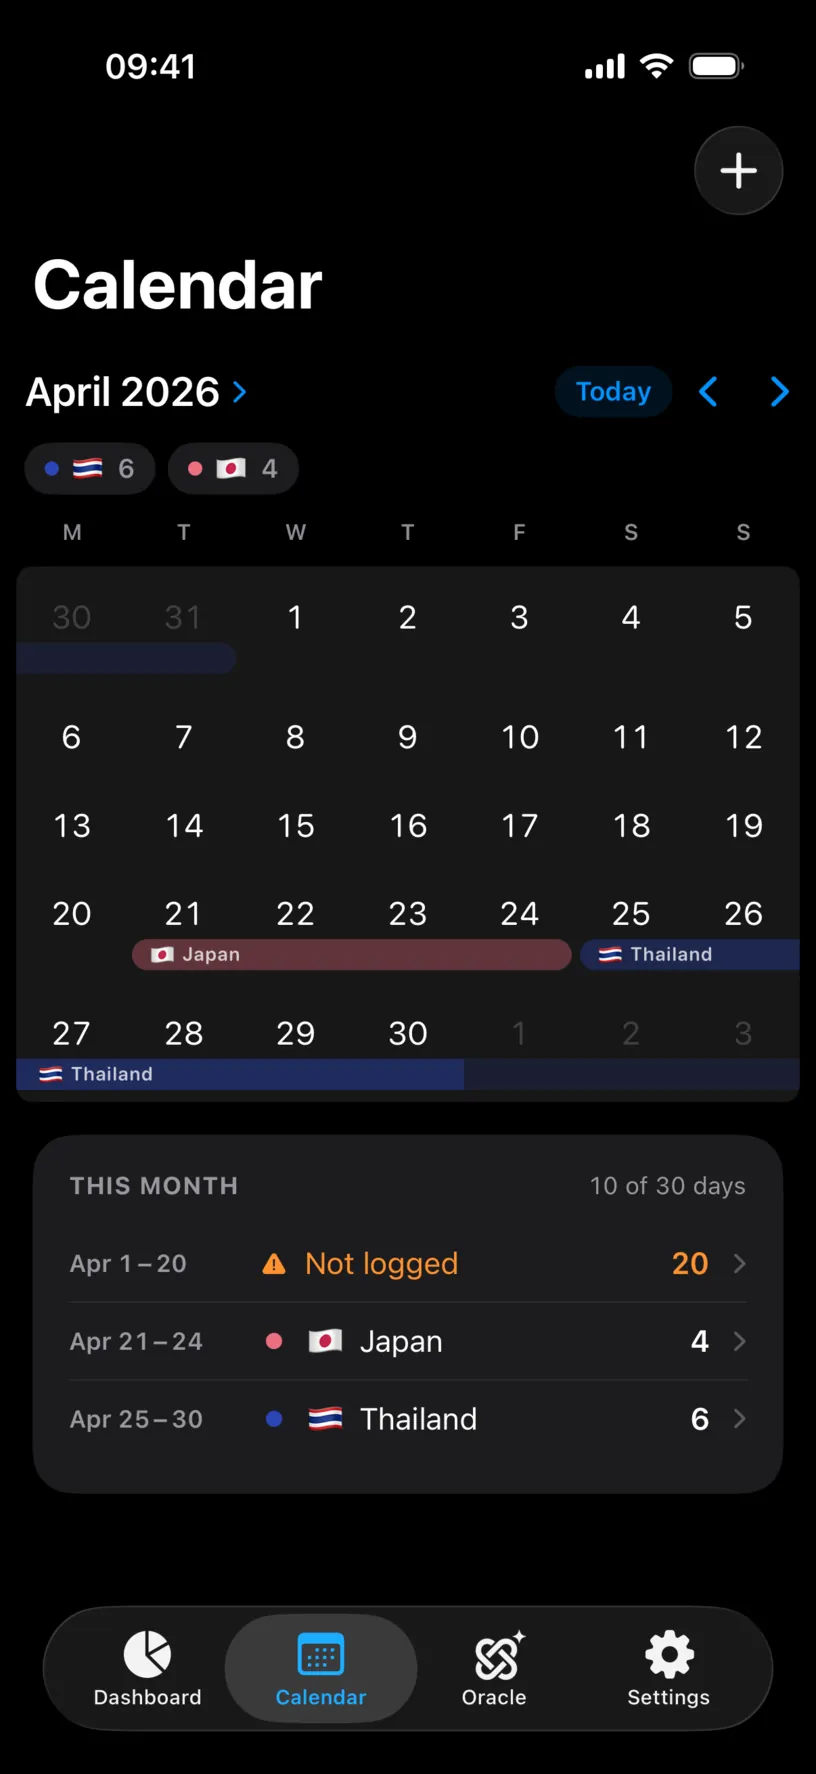
The example fills a 20 day gap in April 2026 from eight photos taken in Taipei. The app never sees the pictures themselves: it reads the date and the coordinates the camera stored, and nothing else.
Step 1: Start the scan
Open the Calendar tab, tap Add, and choose Scan Photos.
The same action runs during setup, on the screen titled Your calendar, already filled in. If you skipped it there, this is where it lives afterwards.
Step 2: Give the app access to your photos
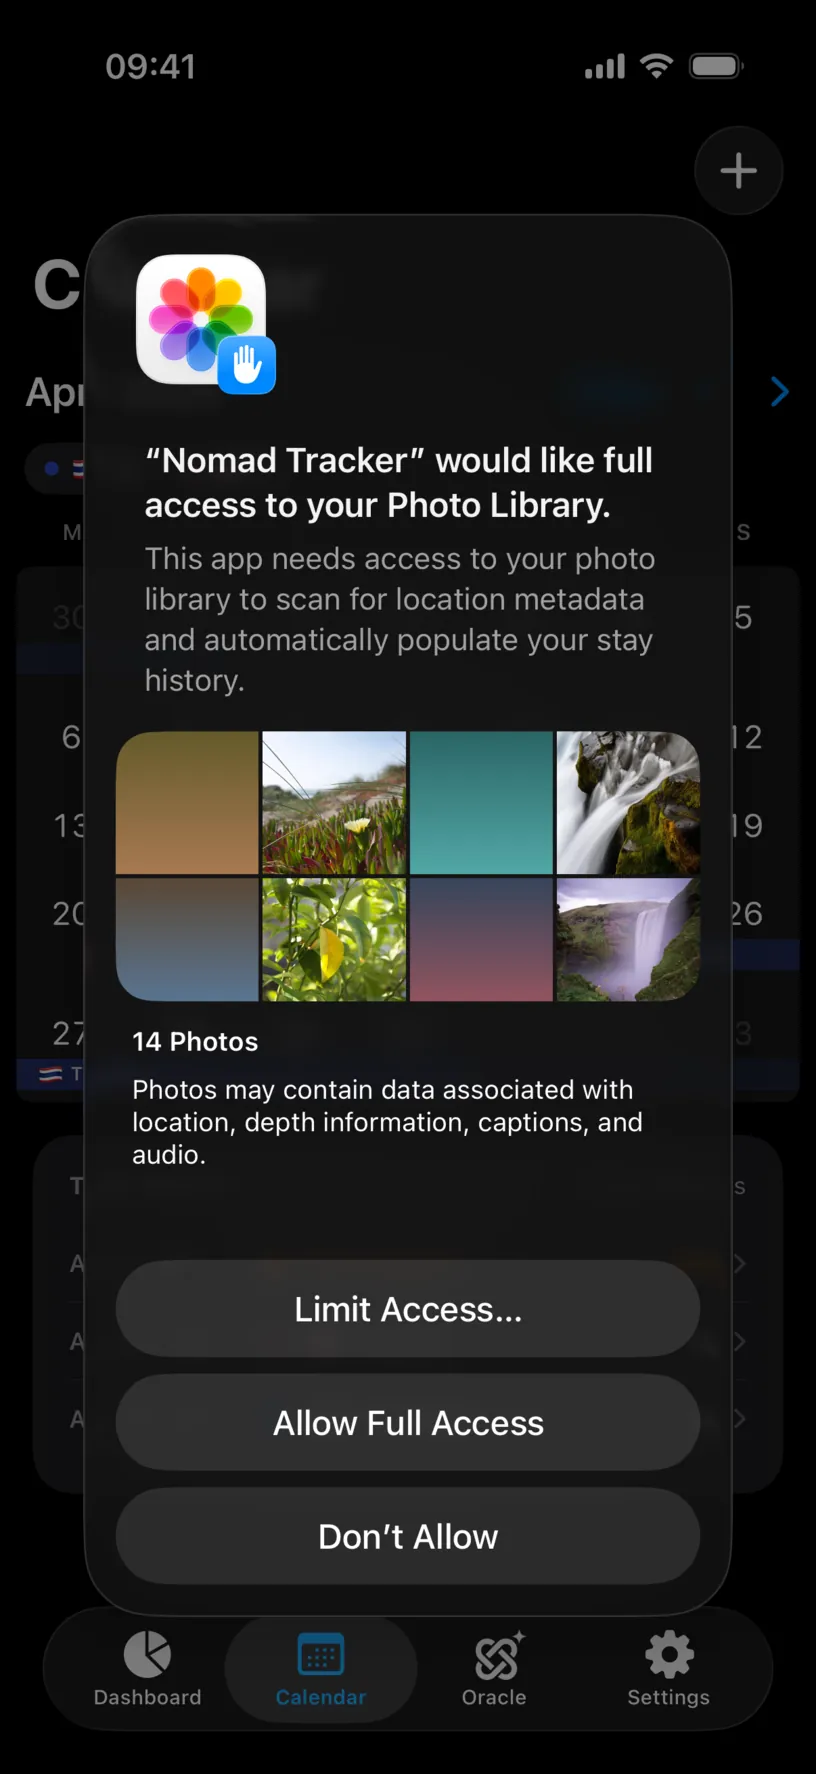
iOS asks once: “Nomad Tracker” would like full access to your Photo Library.
Tap Allow Full Access to scan everything. Limit Access… opens a picker and scans only the photos you choose, which means only those photos become days.
Step 3: Choose the period to scan
The Import Photos screen asks which period to scan. Four presets cover most cases: Last 30 days, Last 3 months, Last 12 months and Last 2 years.
For anything else, set START and END by hand on the calendar underneath.
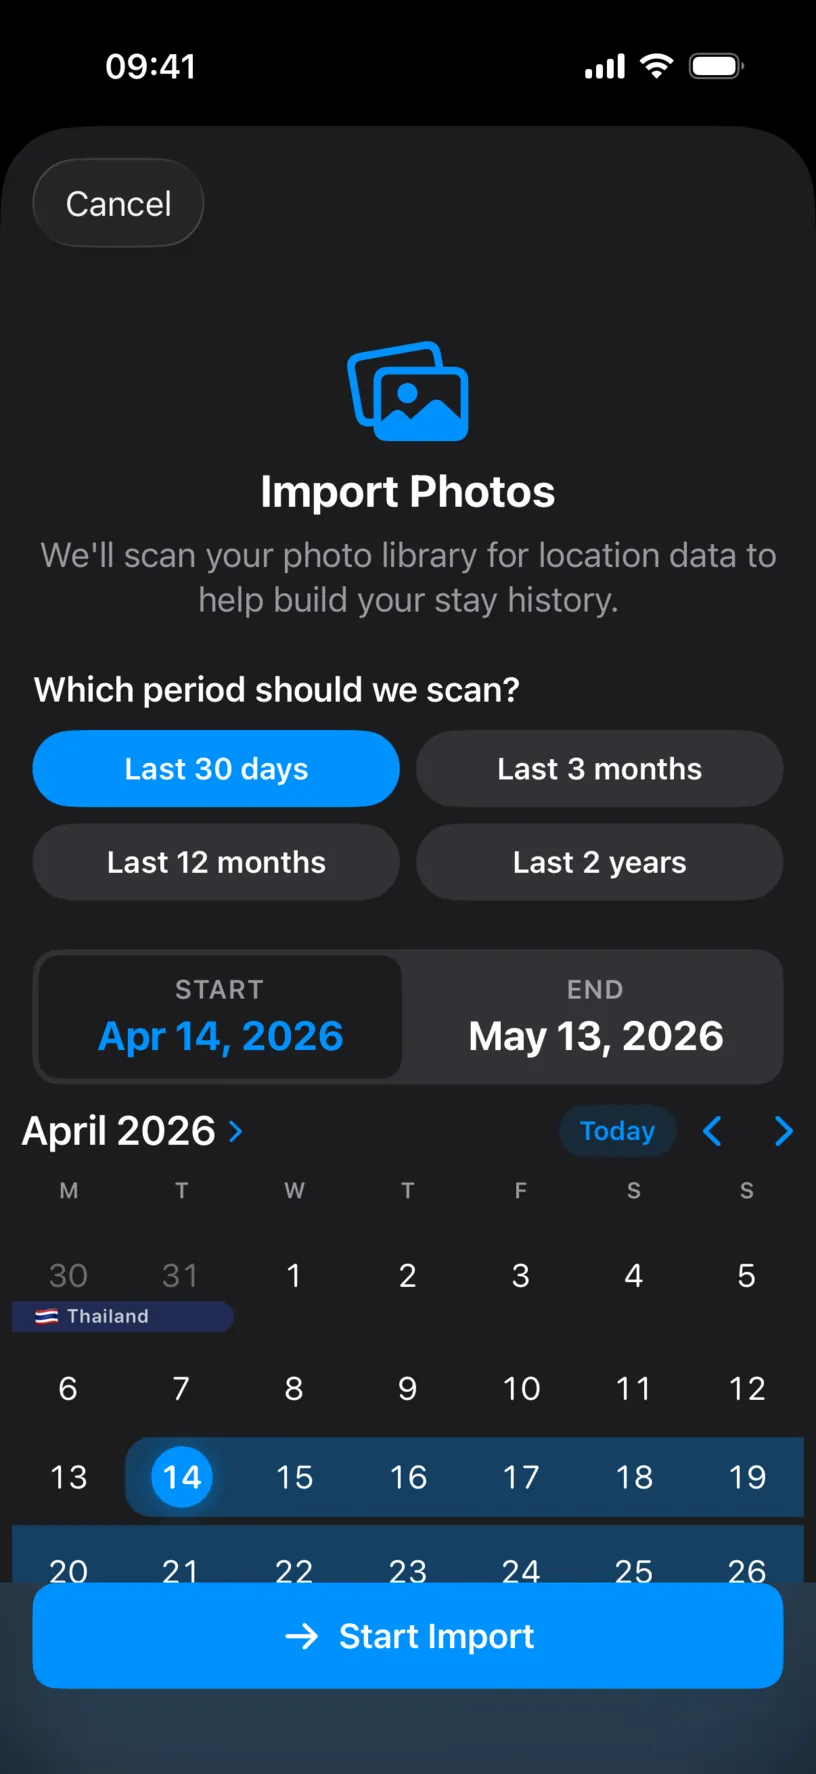
A wider period is not free. Every photo in the range is checked, so a two year scan on a full library takes noticeably longer than a month. Start with the period you actually need.
Tap Start Import.
Step 4: Review what the app found
The scan proposes stays, not single days. Each row is one continuous stay, marked Inferred from Photos, with the country and its two letter code.
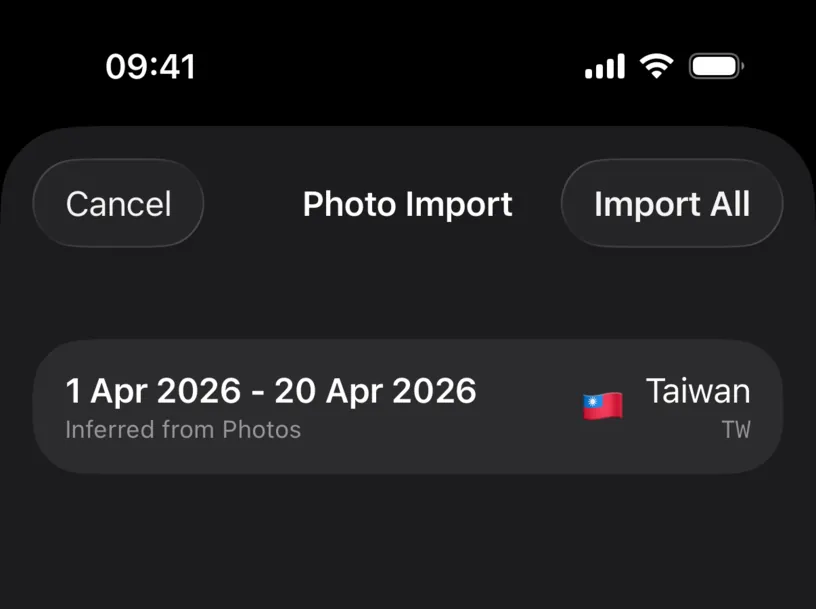
Eight photos produced one row of twenty days, and that is the part worth understanding: when two photos in the same country sit either side of a gap, the app fills the days between them. It assumes you did not leave and come back without taking a single picture.
Nothing is saved yet.
Step 5: Correct a stay before importing it
Tap a row. It opens as Edit Stay, with the dates it inferred and the country it read, both editable.
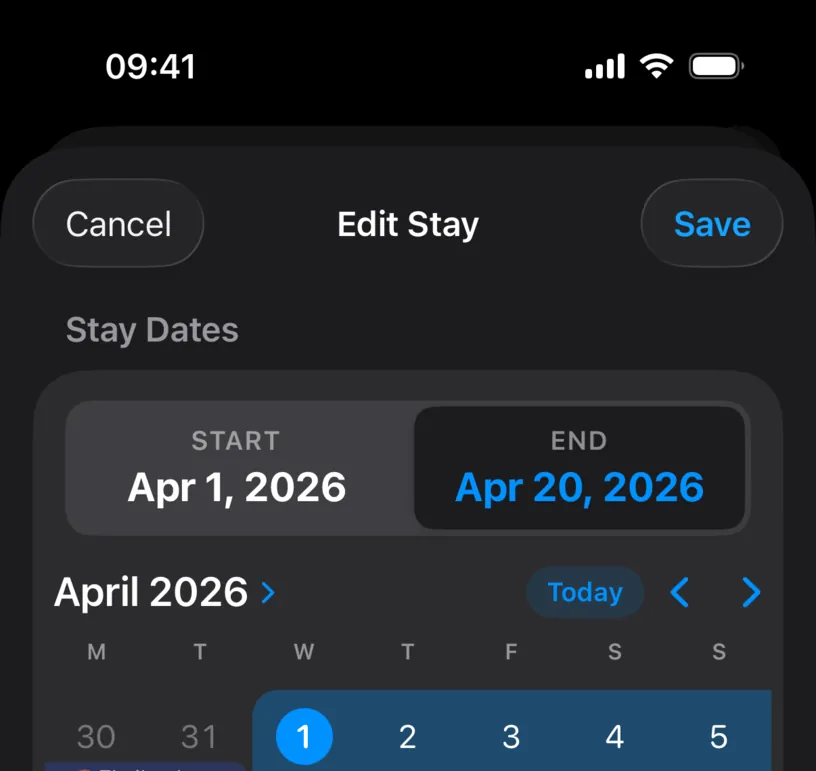
Change the range in the grid, or the country under Location, then tap Save to put the corrected version back in the list. The delete action at the bottom of the sheet drops the proposal instead, which is what you want for a stopover the app read as a stay.
Step 6: Import
Tap Import All. The app writes every row in the list and returns you to the calendar.
Check your result
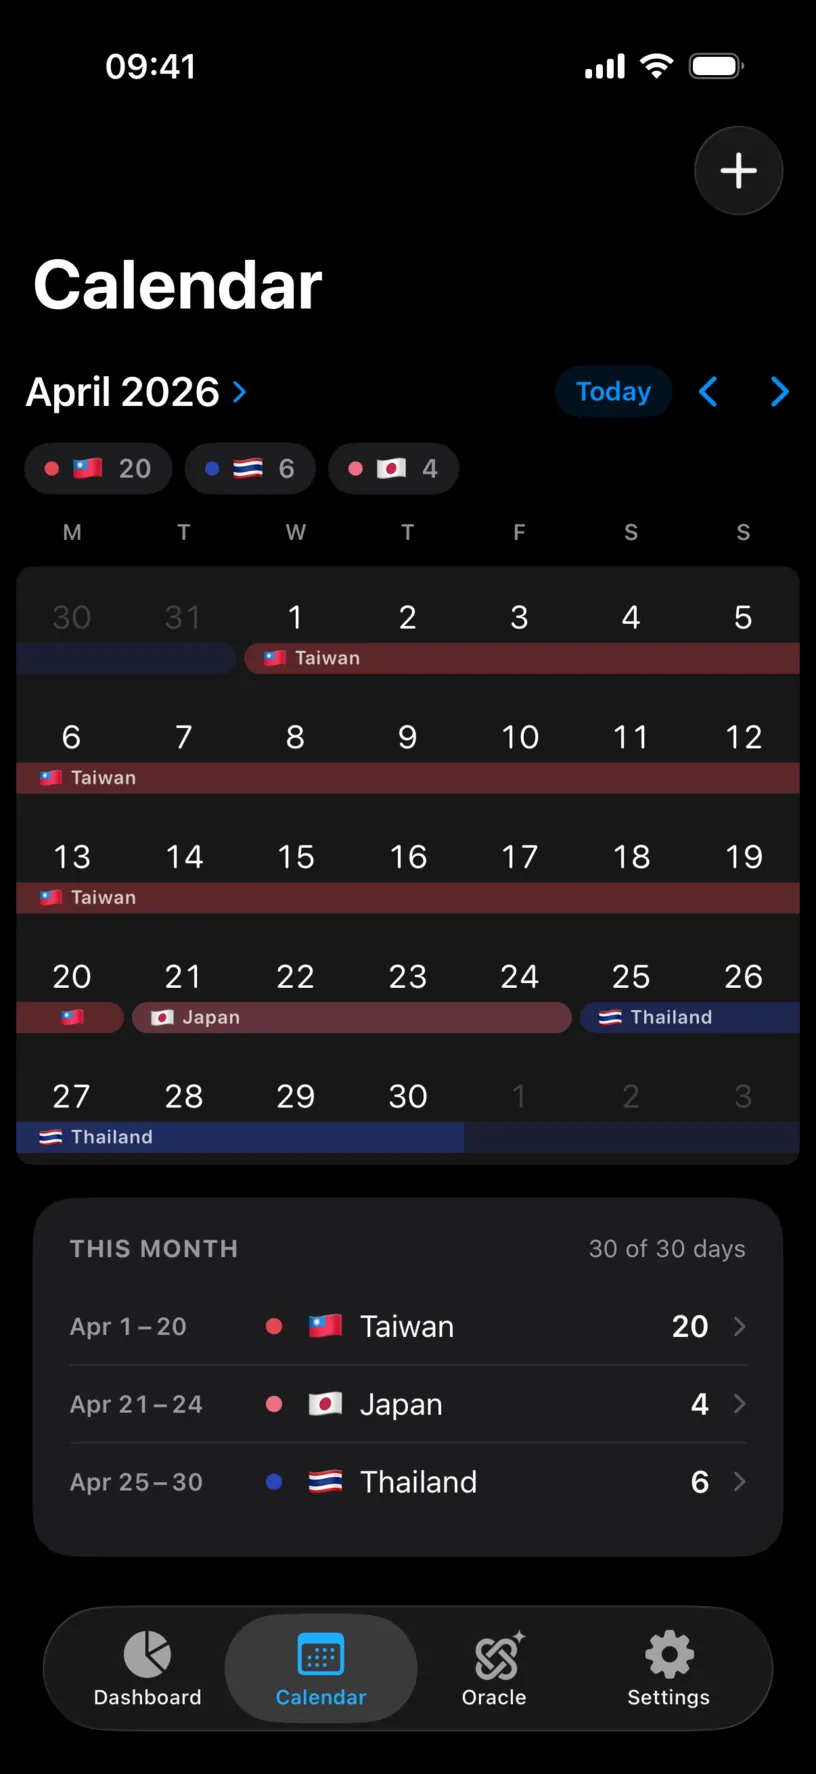
The month you filled now counts the imported days.
THIS MONTH reads 30 of 30 days, the chips under the month name carry the country and its count, and the stay list shows the row the import created, Apr 1 to 20 in Taiwan, worth 20 days.
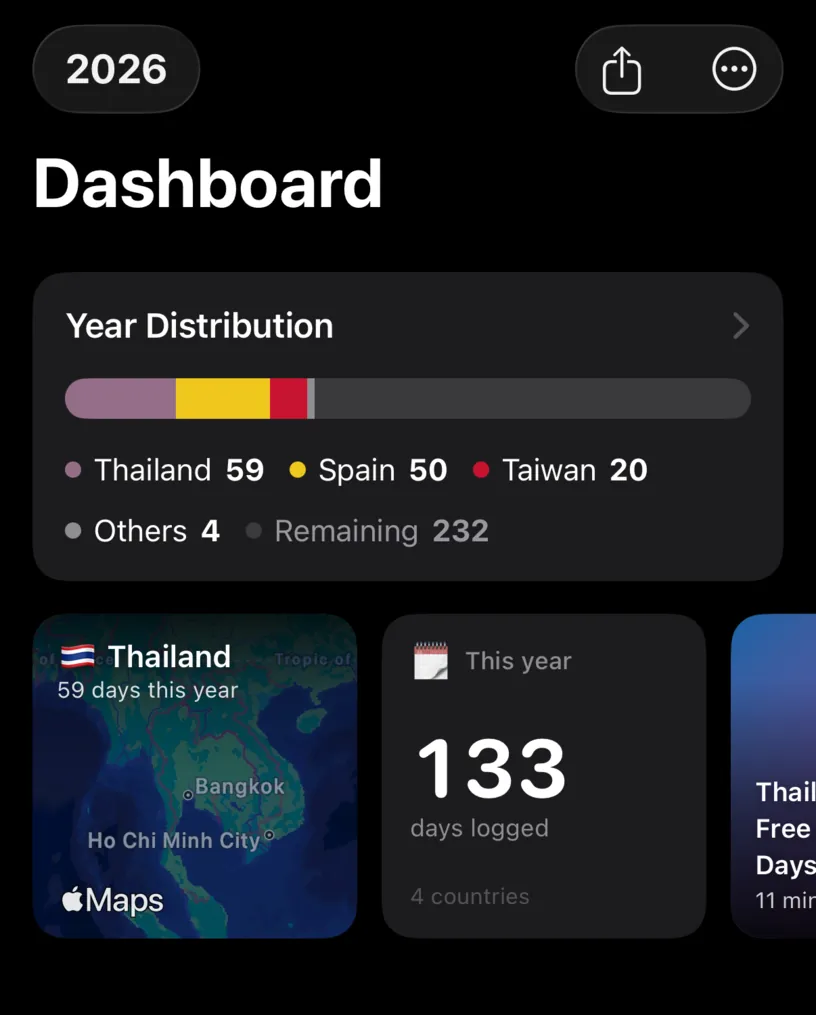
The dashboard picks them up in the same pass. Year Distribution shows Taiwan 20, and the This year tile reads 133 days logged across 4 countries.
If something looks different
The scan found nothing. The photos in that period carry no location. Screenshots, images saved from a chat, and photos taken while location services were off have nothing to read. Photos from a camera without GPS do not either.
Only a handful of photos were scanned. Access is limited to a selection. In the iOS Settings app, open Nomad Tracker, then Photos, and choose Full Access.
A stay covers days you were somewhere else. That is the gap bridging in step 4. Open the stay in the Calendar tab and correct it, or split it into the two stays it really was.
A one day stay appeared in a country you only flew through. A photo taken during a layover is a photo in that country. Delete that day.
A day you had typed by hand did not change. Deliberate. When a day already carries a manual entry, the import leaves it alone: what you enter yourself outranks anything the app infers.
The import is slow or the app looks stuck. The scan reads every photo in the period from the Photos index. Give a long period time, and prefer a preset that matches the trips you are missing.
Next steps
Log your first trip covers the manual entry you need for the days no photo can prove.
Turn on automatic location tracking does the same job going forward, so you stop having to rebuild anything.