What you’ll achieve
By the end of this guide your passport, visas and permits live in the app with their expiry dates, and the vault tells you at a glance which one needs renewing first.
The example adds two documents to an empty vault: a Spanish passport that expires in 2028 and a Thai visa that expires in seven weeks.
Step 1: Open the vault
Open the Settings tab and scroll to Documents & Security. Tap Document Vault.
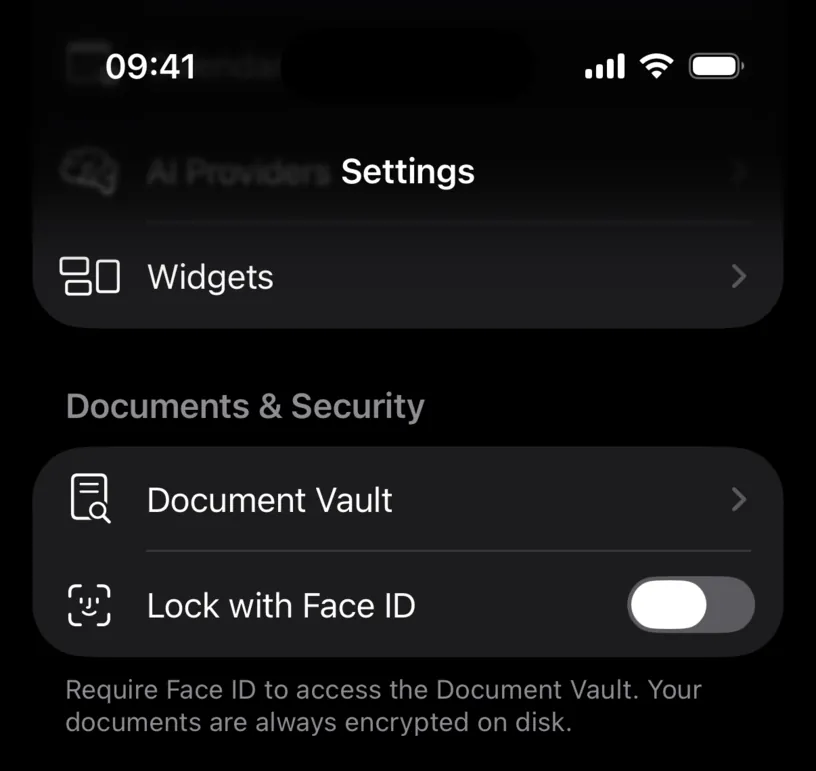
The footer under the section is the important part: Your documents are always encrypted on disk. The images never leave your iPhone unless you send them somewhere yourself.
Step 2: Read the empty vault
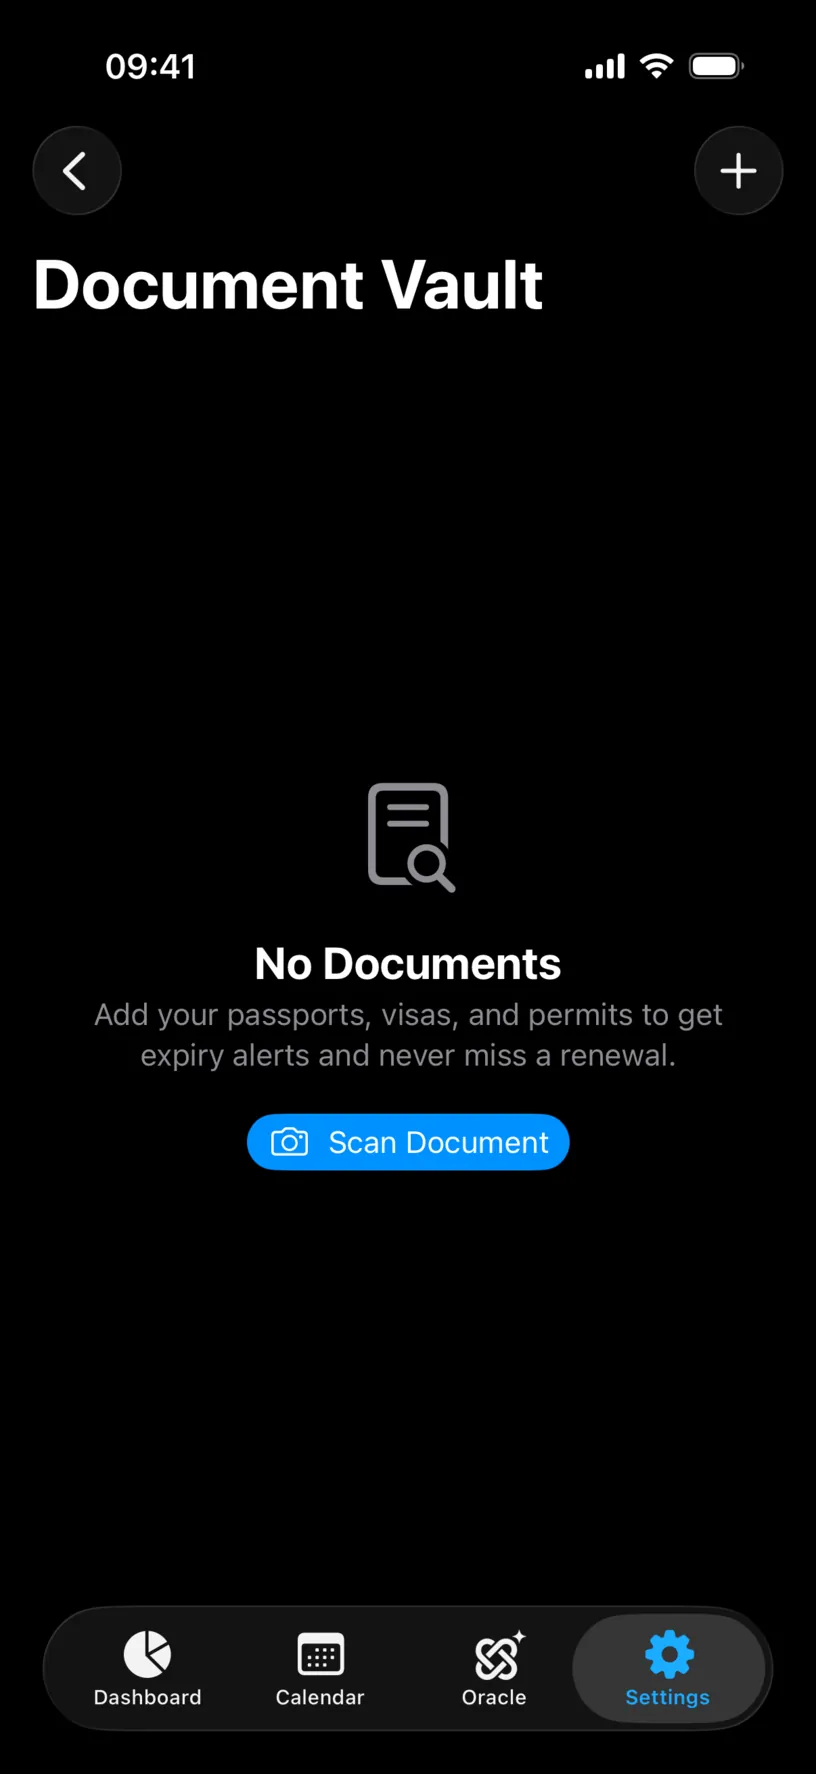
An empty vault says No Documents and explains what it is for: passports, visas and permits, so you get expiry alerts and never miss a renewal.
Step 3: Choose how to add the first document
Tap the + in the top right. Two ways open.
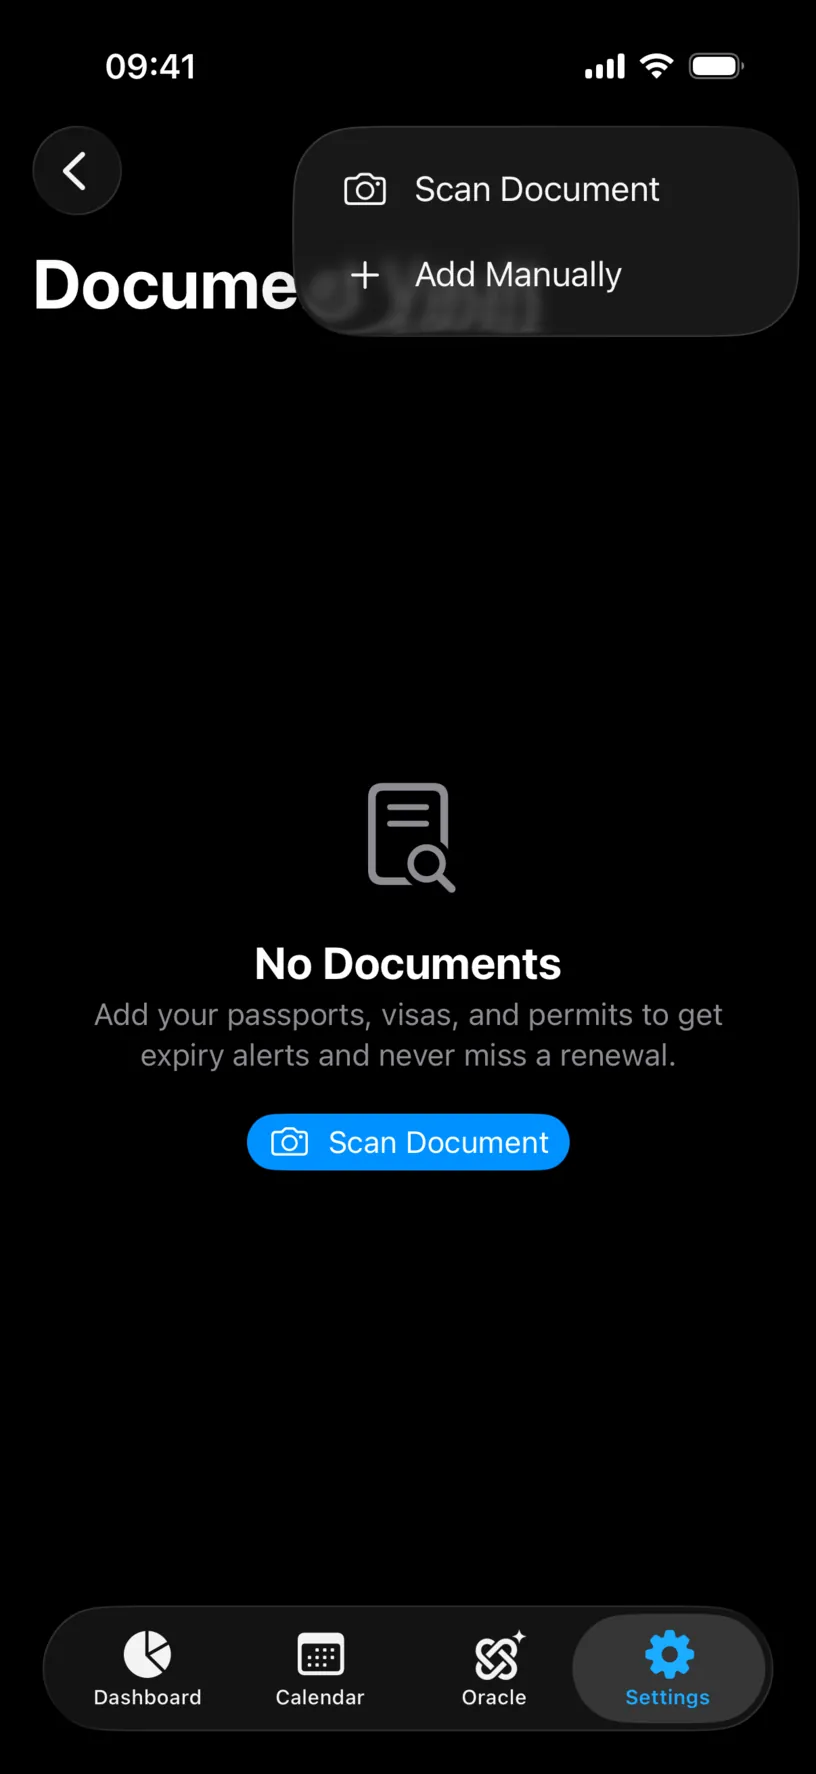
Scan Document opens the camera, photographs the document and fills in what it can read. Add Manually opens the same form with nothing filled in, which is what this guide uses.
Step 4: Fill in the form
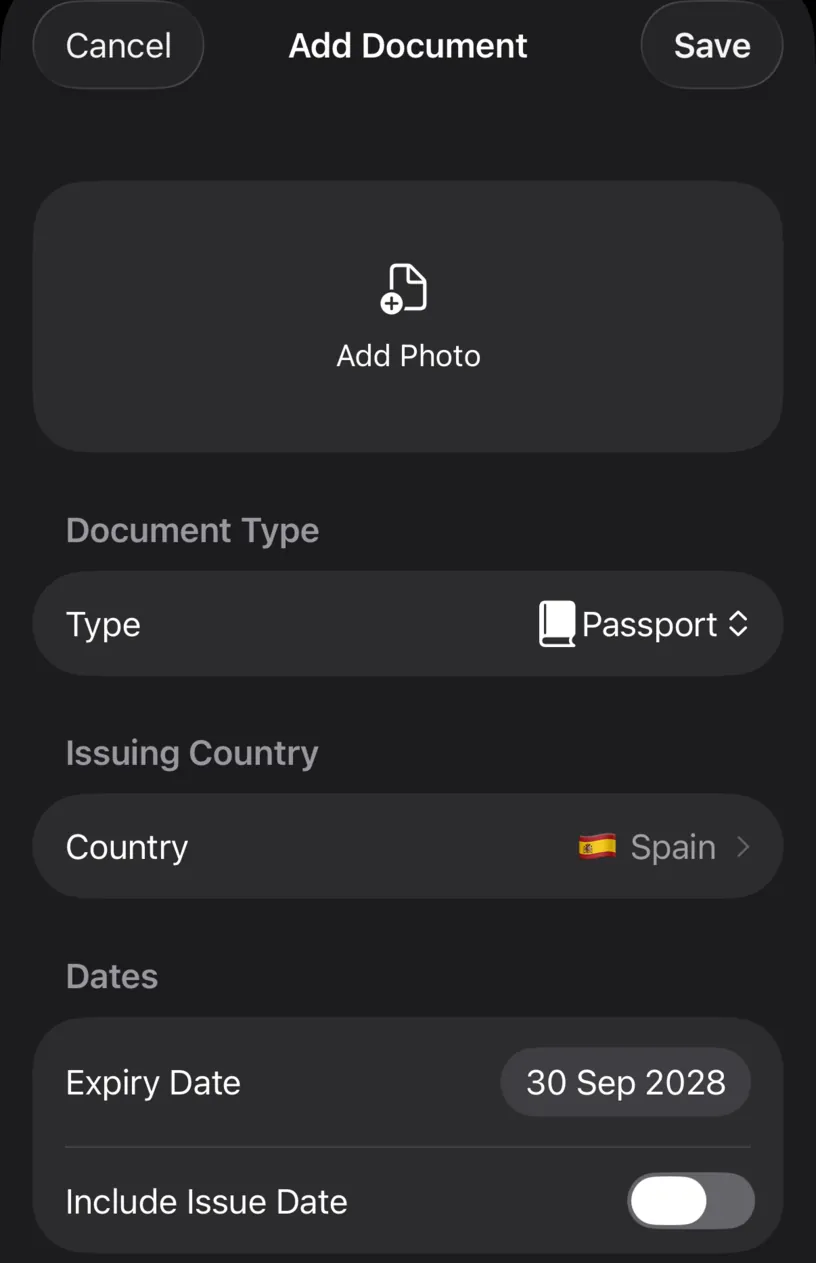
The sheet is titled Add Document and holds everything the vault knows about one document.
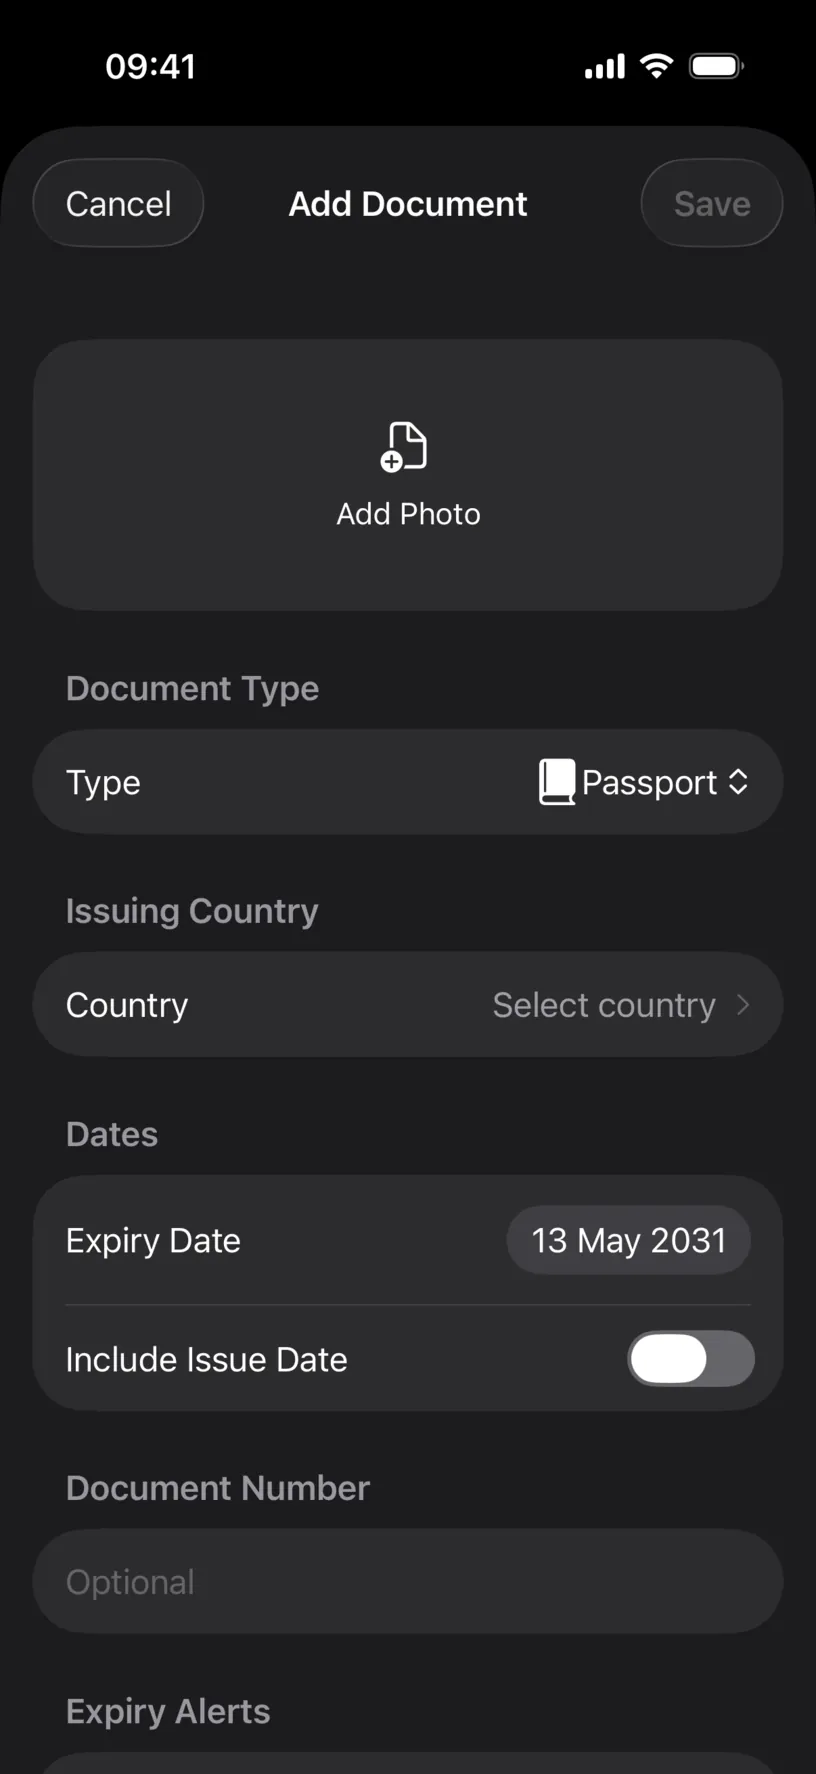
Add Photo attaches an image of the document, from the camera or your library. It is optional, and everything else works without it.
Step 5: Pick the type
Tap Type. Four kinds are offered: Passport, Visa, Residence Permit and Other.
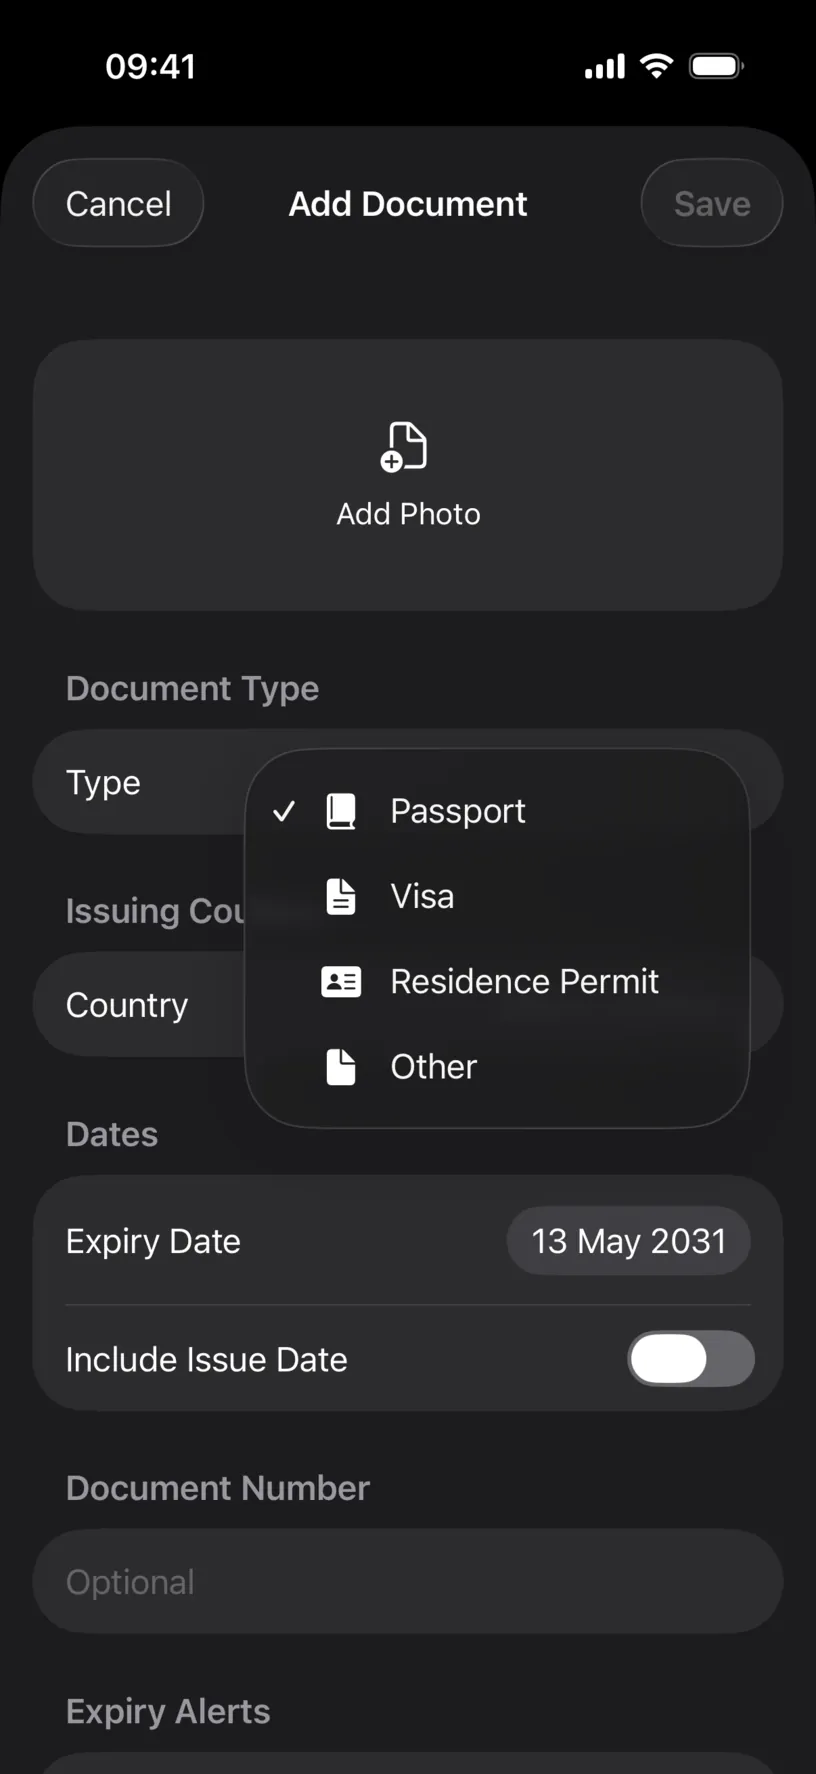
The type decides the icon and the name of the row in the list, nothing else. A document that fits none of the four goes under Other.
Under Issuing Country, tap Country and pick the country that issued it. The form cannot be saved until this is set.
Step 6: Set the expiry date
Tap the date next to Expiry Date. A calendar opens on the current value, which starts five years from today.
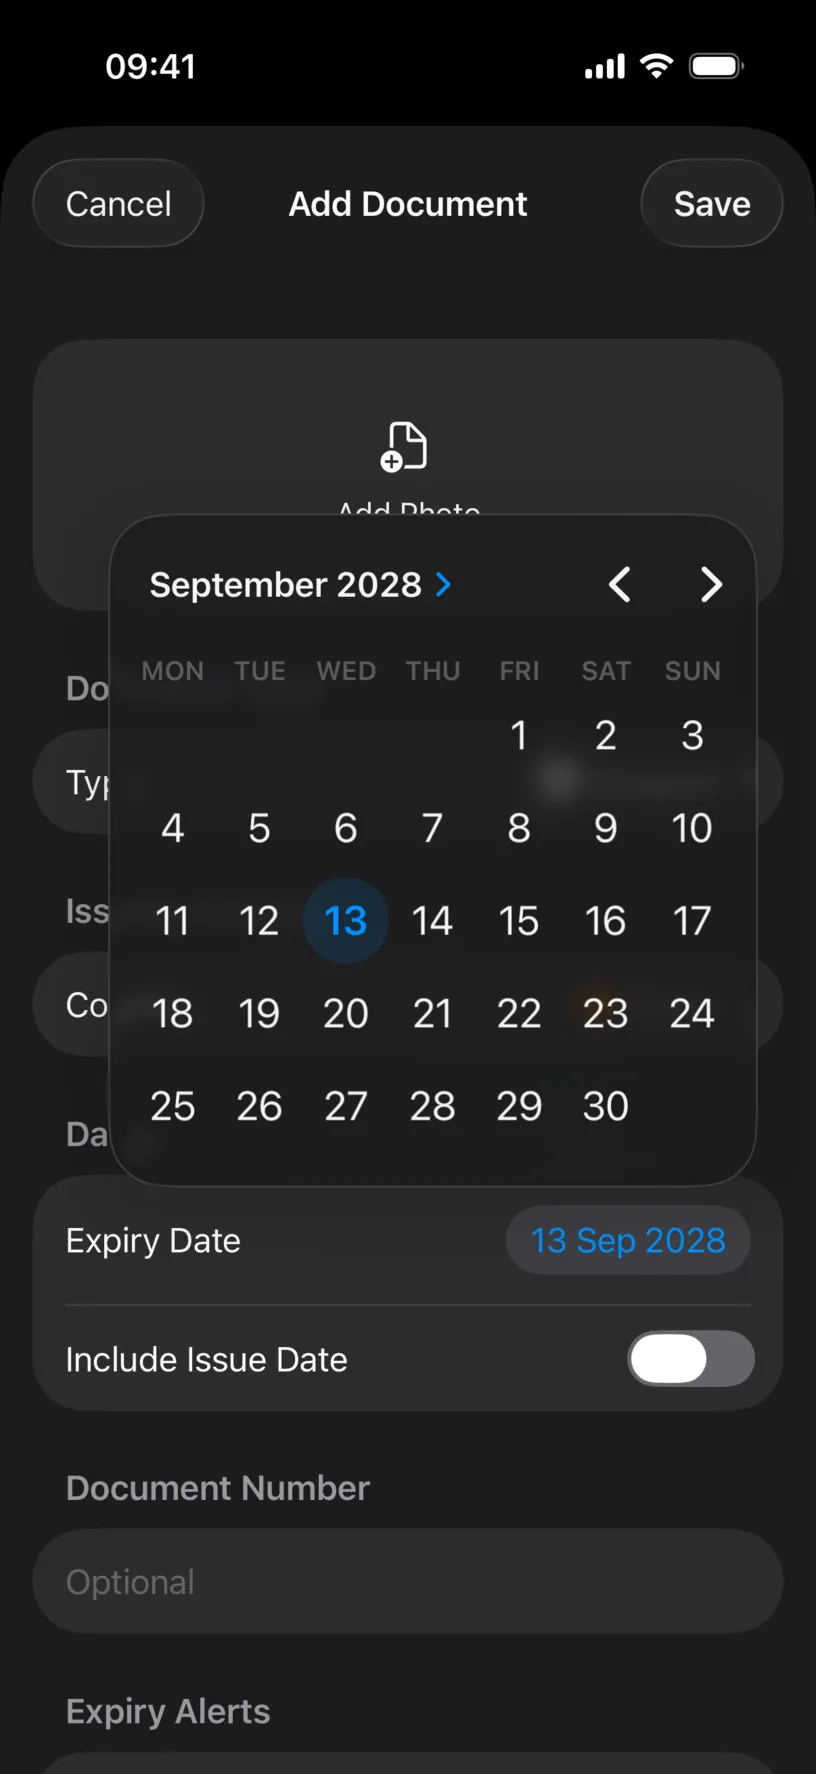
Move month by month with the arrows, or tap the month label to jump straight to a month and year. Tap the day, then tap outside the calendar to close it.
Include Issue Date adds a second date if you need it on record. Document Number and Notes are both optional.
Step 7: Save
Check the three fields that matter, then tap Save.
Repeat the same steps for the second document. The example adds a Visa issued by Thailand expiring on 10 July 2026.
Check your result
The vault now groups your documents by how soon they expire, and the group nearest expiry sits at the top.
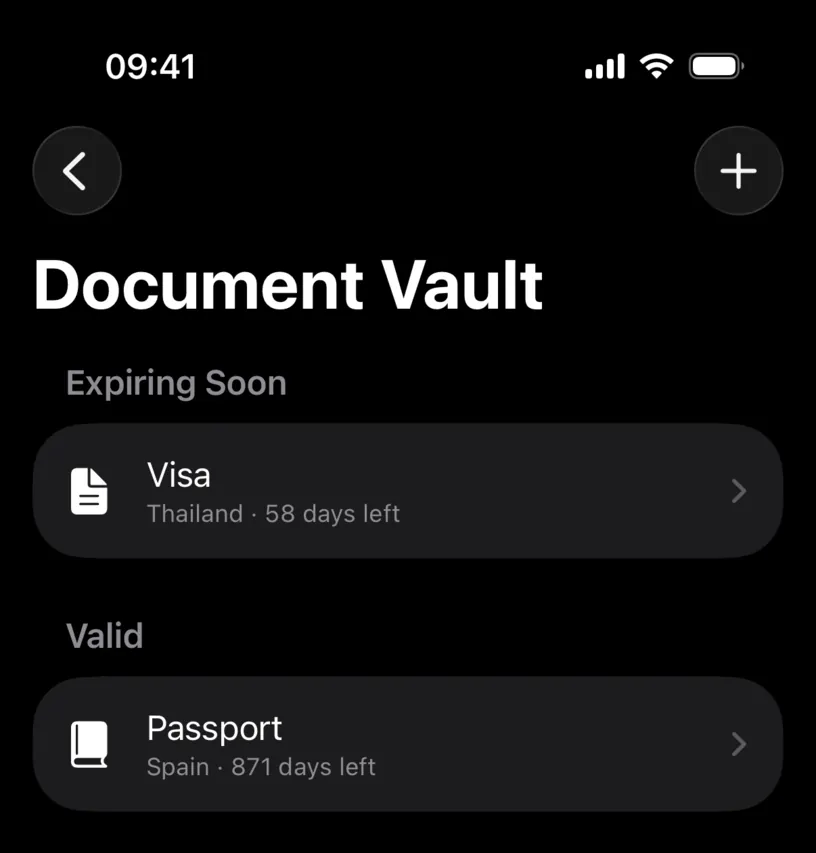
The Thai visa sits under Expiring Soon and reads 58 days left. The passport sits under Valid and reads 871 days left. Both counts are measured from today, so they move on their own.
Tap a row to open the document.
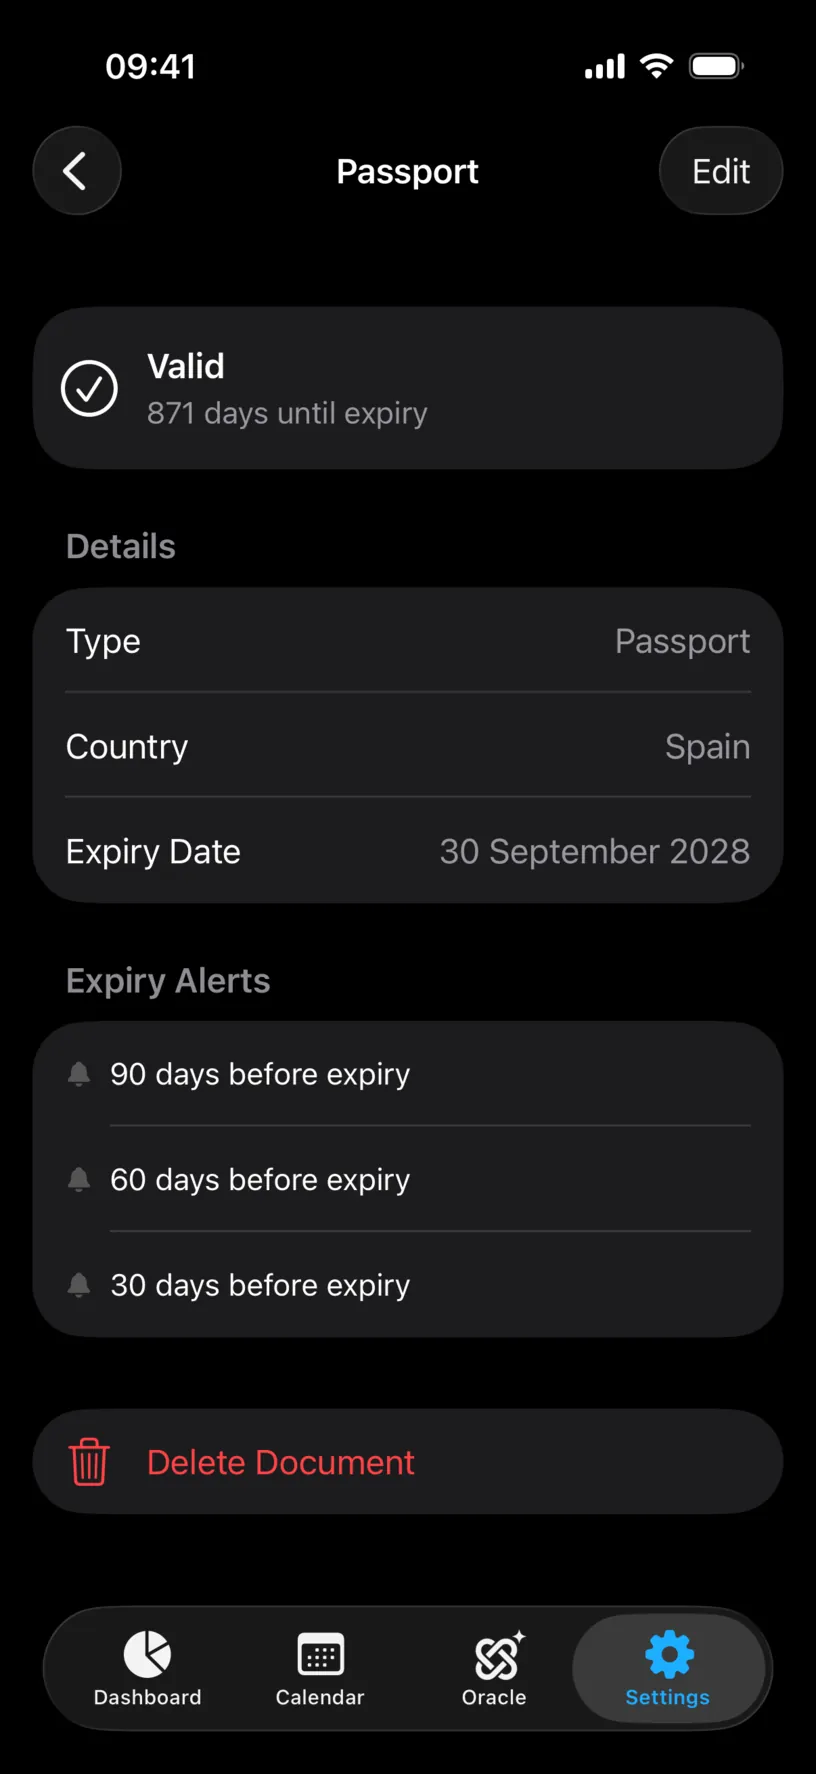
The detail screen repeats the status as a sentence, lists what you entered under Details, and shows the reminders under Expiry Alerts. New documents arrive with three: 90 days before expiry, 60 and 30.
If something looks different
The rows show a padlock and xxxx days left. The vault is part of PRO. Without a subscription the documents stay listed but the expiry dates are hidden and the rows lead to the subscription screen.
Save is greyed out. Country is still empty. It is the only field the form insists on.
Scan Document does nothing. The camera needs permission the first time. iOS asks once, and if you declined you can grant it in the iOS Settings app under Apps, then Nomad Tracker.
A document sits in the wrong group. The grouping is only the expiry date against today. Open the document, tap Edit and correct the date.
Next steps
Protect your document vault puts Face ID in front of the vault so an unlocked iPhone is not enough to open it.
Review and manage saved documents covers editing a document after a renewal and removing one you no longer need.