What you’ll achieve
By the end of this guide you have a PDF of your travel history for a period you choose, saved or sent from your iPhone. It lists every stay with its dates, its day count and whether each day counts as a fiscal day.
This is the file to hand to an accountant, attach to a visa application, or keep as your own record of a year.
Step 1: Open the export screen
Open the Settings tab and scroll to the bottom, to the Data group. Tap Export Data.
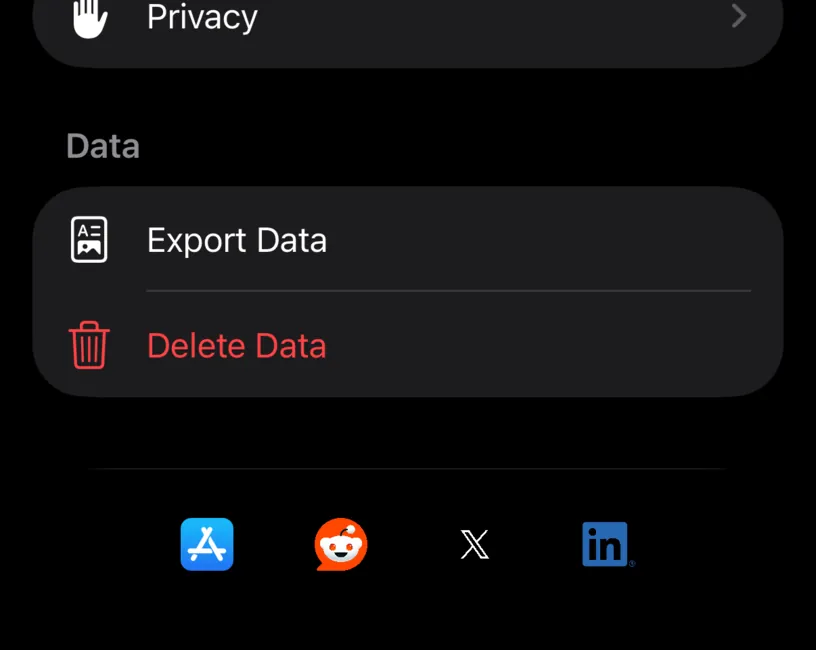
Take care with what sits directly below it. Delete Data is permanent, and it is one row away.
Step 2: Keep the format on PDF Report
The sheet is titled Export Data and opens with a two way switch at the top: PDF Report and CSV.
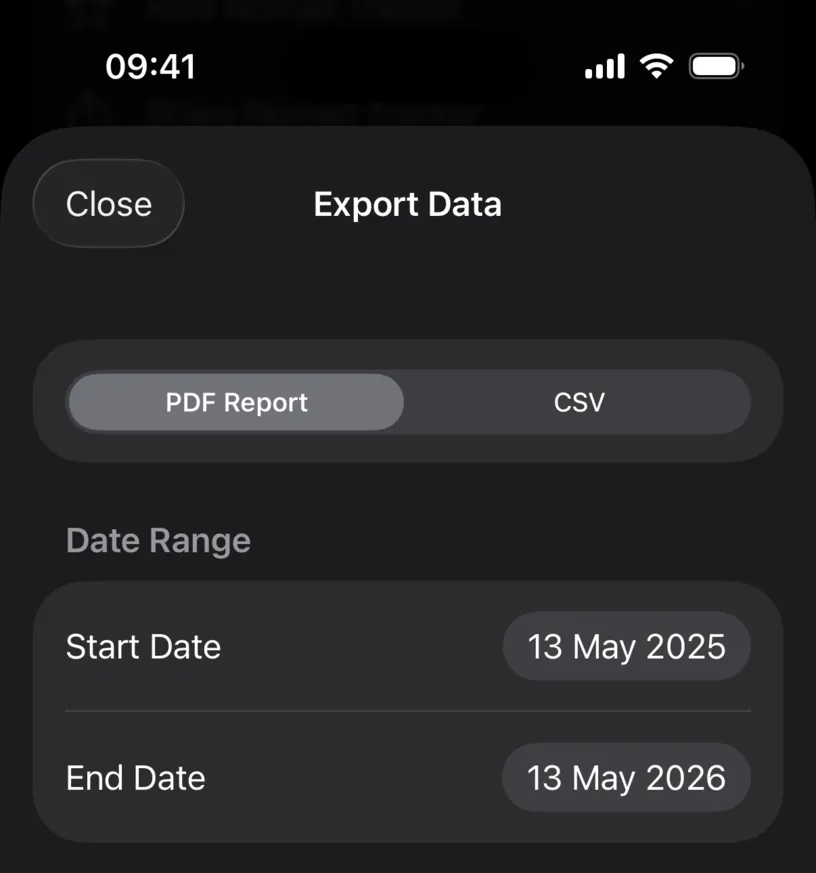
Leave it on PDF Report. CSV exports the same days as a spreadsheet with no layout, no charts and no summary, which is what you want for a tool rather than a reader.
Step 3: Set the period
Under Date Range, tap Start Date. A calendar opens on the month of the current value.
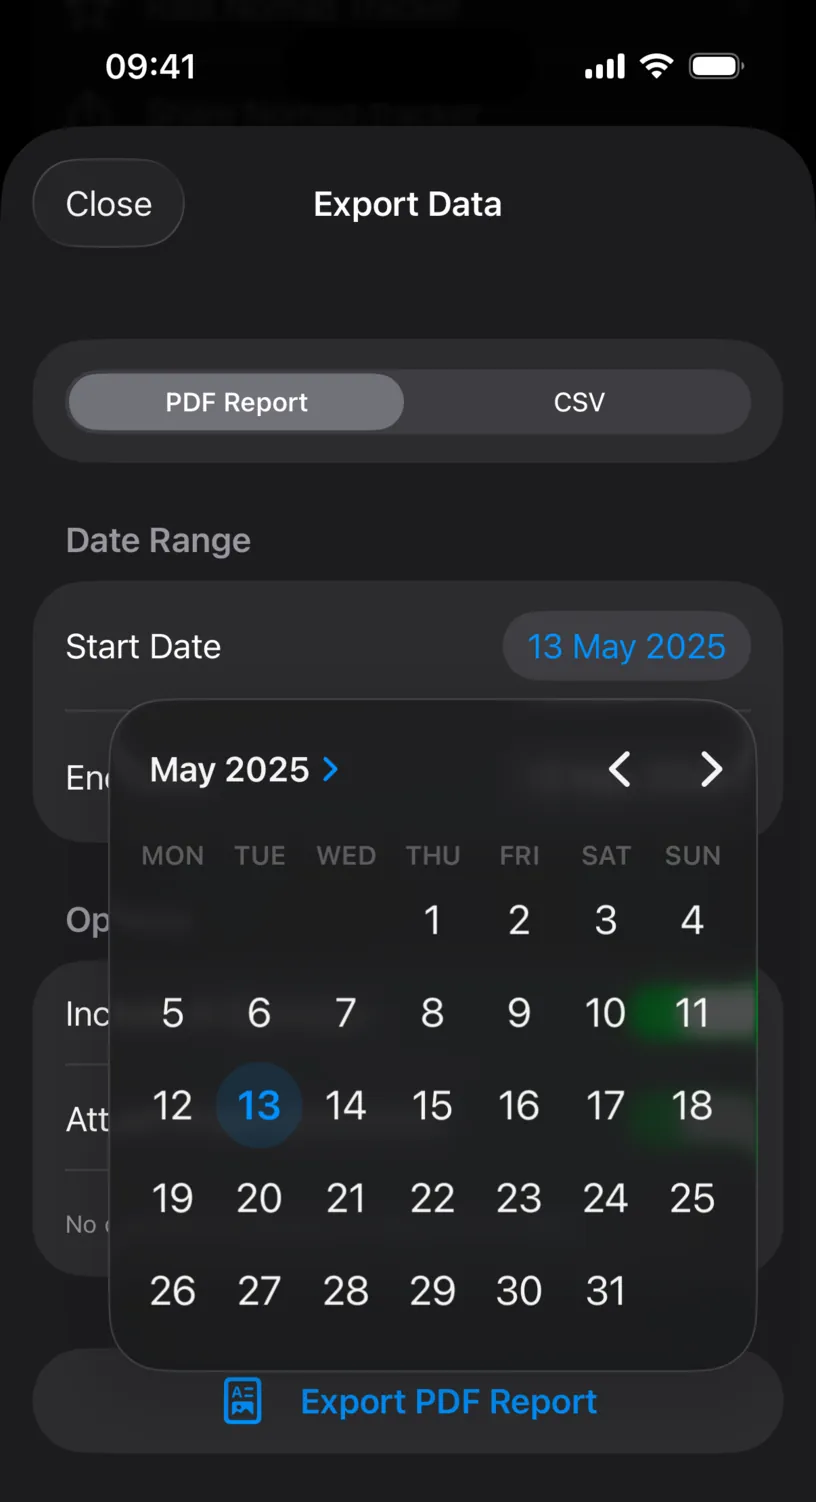
Move between months with the arrows in the top right, or tap the month label to jump by year. Tap the day you want, then tap outside the calendar to close it. Repeat for End Date.
The sheet opens on the last twelve months. For a tax year, set Start Date to the first day of your fiscal year and leave End Date on today.
Step 4: Choose what goes in
Options holds two switches.
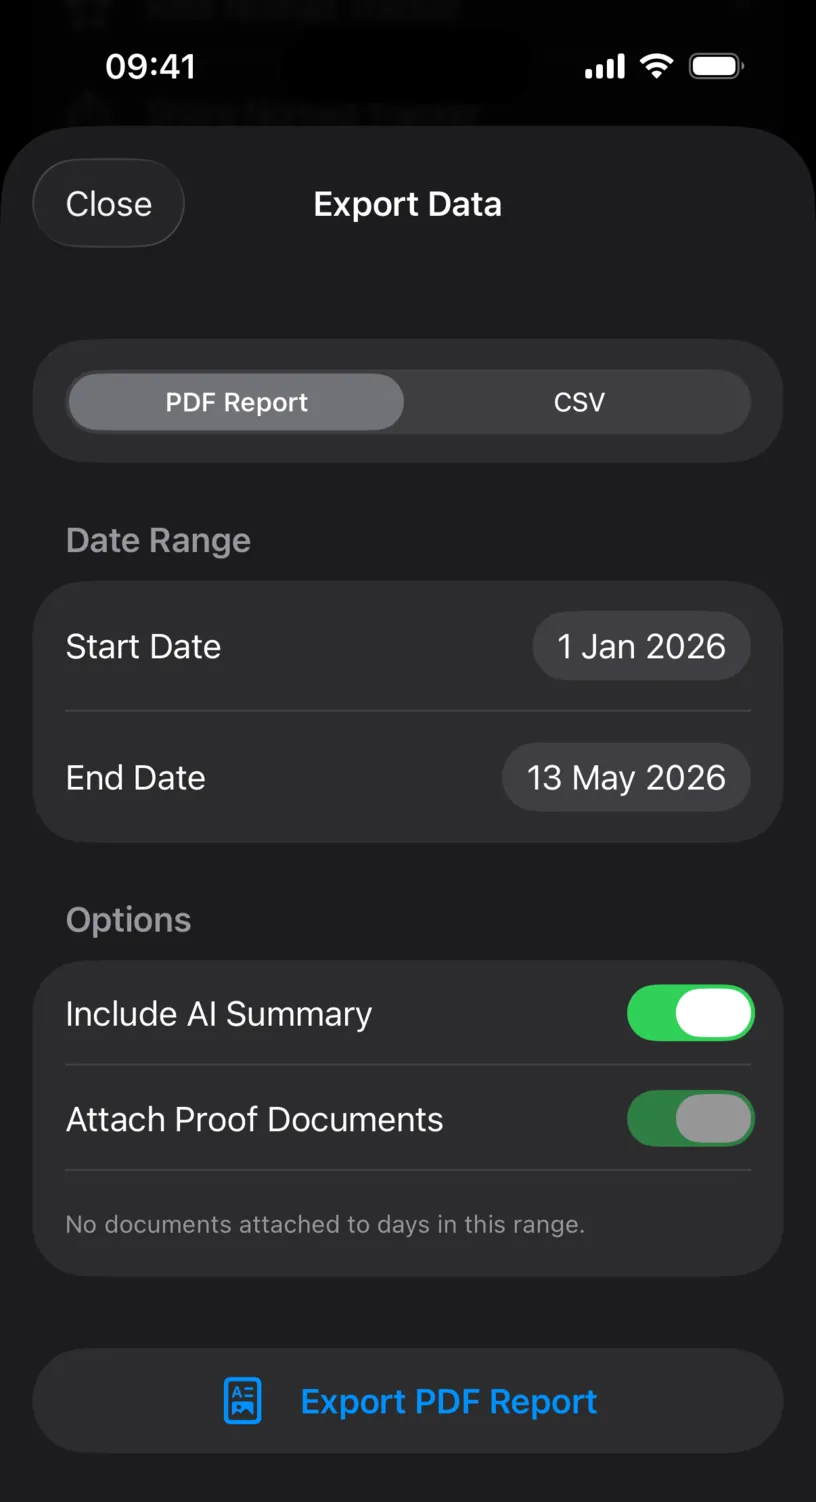
Include AI Summary adds a written summary of the period to the report. It produces text only when you have an AI provider set up in Settings, under AI Providers. Without one the app builds the report without a summary and tells you nothing, so check the finished PDF rather than the switch.
Attach Proof Documents appends the documents attached to days in the period. The switch is unavailable when there are none, and the app says why underneath: No documents attached to days in this range.
Step 5: Export
Tap Export PDF Report. The app builds the file and hands it to the iOS share sheet.
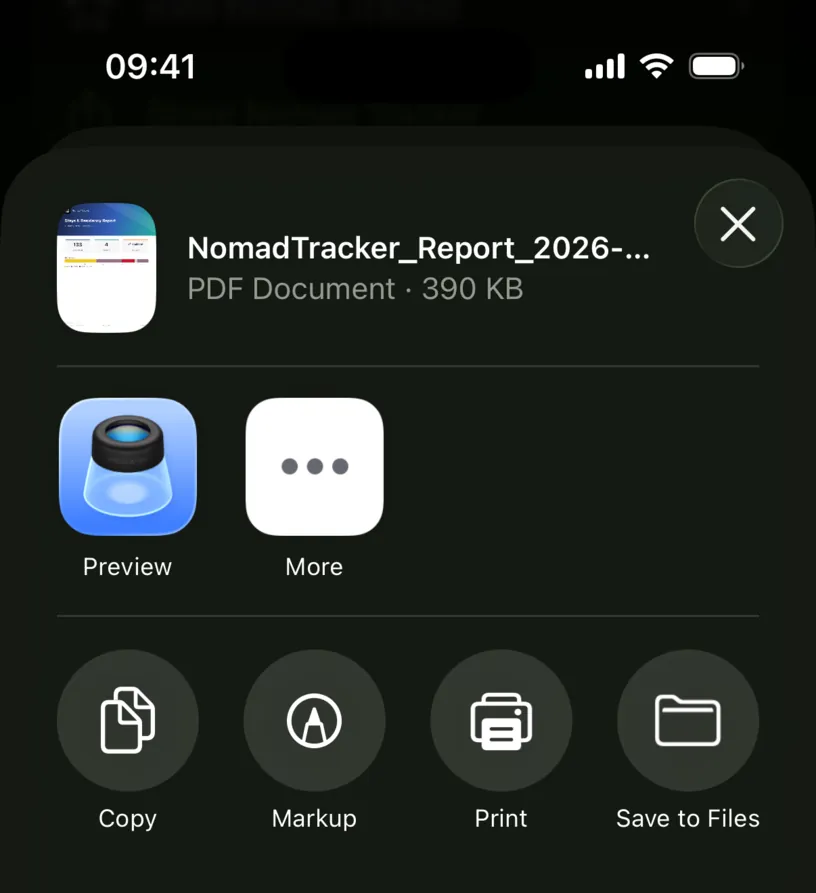
The file name carries the period you chose, so a report over 1 January 2026 to 13 May 2026 arrives as NomadTracker_Report_2026-01-01_2026-05-13.pdf.
Use Save to Files to keep it on the phone or in iCloud Drive, Print for a paper copy, or More to send it to mail or a messaging app.
Step 6: Read what you exported
The report runs to three pages, and each one answers a different question.
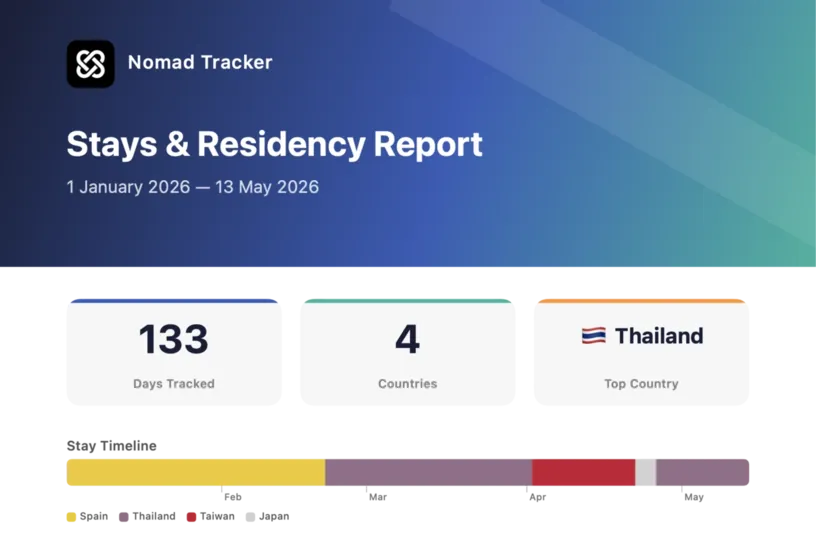
Page 1 is the cover: the period, Days Tracked, Countries, Top Country and a Stay Timeline bar.
Page 2 is the breakdown: Stays Overview with each country's days and share, Top Countries by Days, a Monthly Breakdown table of days per country per month, and Schengen Status against the Schengen 90/180 Rule.
Page 3 is the evidence: a Stay Details table with Country, Start Date, End Date, Days and Fiscal Day for every stay, then a printed note that the report is informational and not legal or tax advice.
Every page is footed with the generation date and marked confidential.
Check your result
Open the PDF and compare page 1 with your dashboard. Days Tracked matches the total the This year tile shows for the same period, and Countries matches the number of country cards.
Then check the last row of the Stay Details table on page 3. It should end on your most recent logged day, not earlier. If it ends earlier, your End Date cut the period short.
If something looks different
Export Data has a lock on it. Exporting is part of the PRO subscription. Without it, tapping the row leads to the subscription screen instead of the export options.
The report has no written summary. Include AI Summary needs an AI provider configured in Settings, under AI Providers. The app omits the summary silently when there is none.
Attach Proof Documents cannot be switched. No day inside the period has a document attached, so there is nothing to append. Attach a document to a day in the Calendar tab first.
The report is nearly empty. The period holds no logged days. Check Start Date and End Date, then check the Calendar tab for the same months.
A day you expected is missing from Stay Details. The table prints stays, not intentions. A planned trip from a simulation is not a logged day and never reaches the report.
Preview fails to open the file. Use Save to Files and open the PDF from the Files app instead.
Next steps
Set up Nomad Tracker for the first time covers the residence and fiscal year settings that decide which days the report counts as fiscal days.
For a spreadsheet rather than a document, repeat this flow and pick CSV in step 2.